5 Most Popular Seashell DIY Projects for Coastal Home Decor
This post may contain affiliate links. If you make a purchase through one of my links, I may receive a small commission at no cost to you.
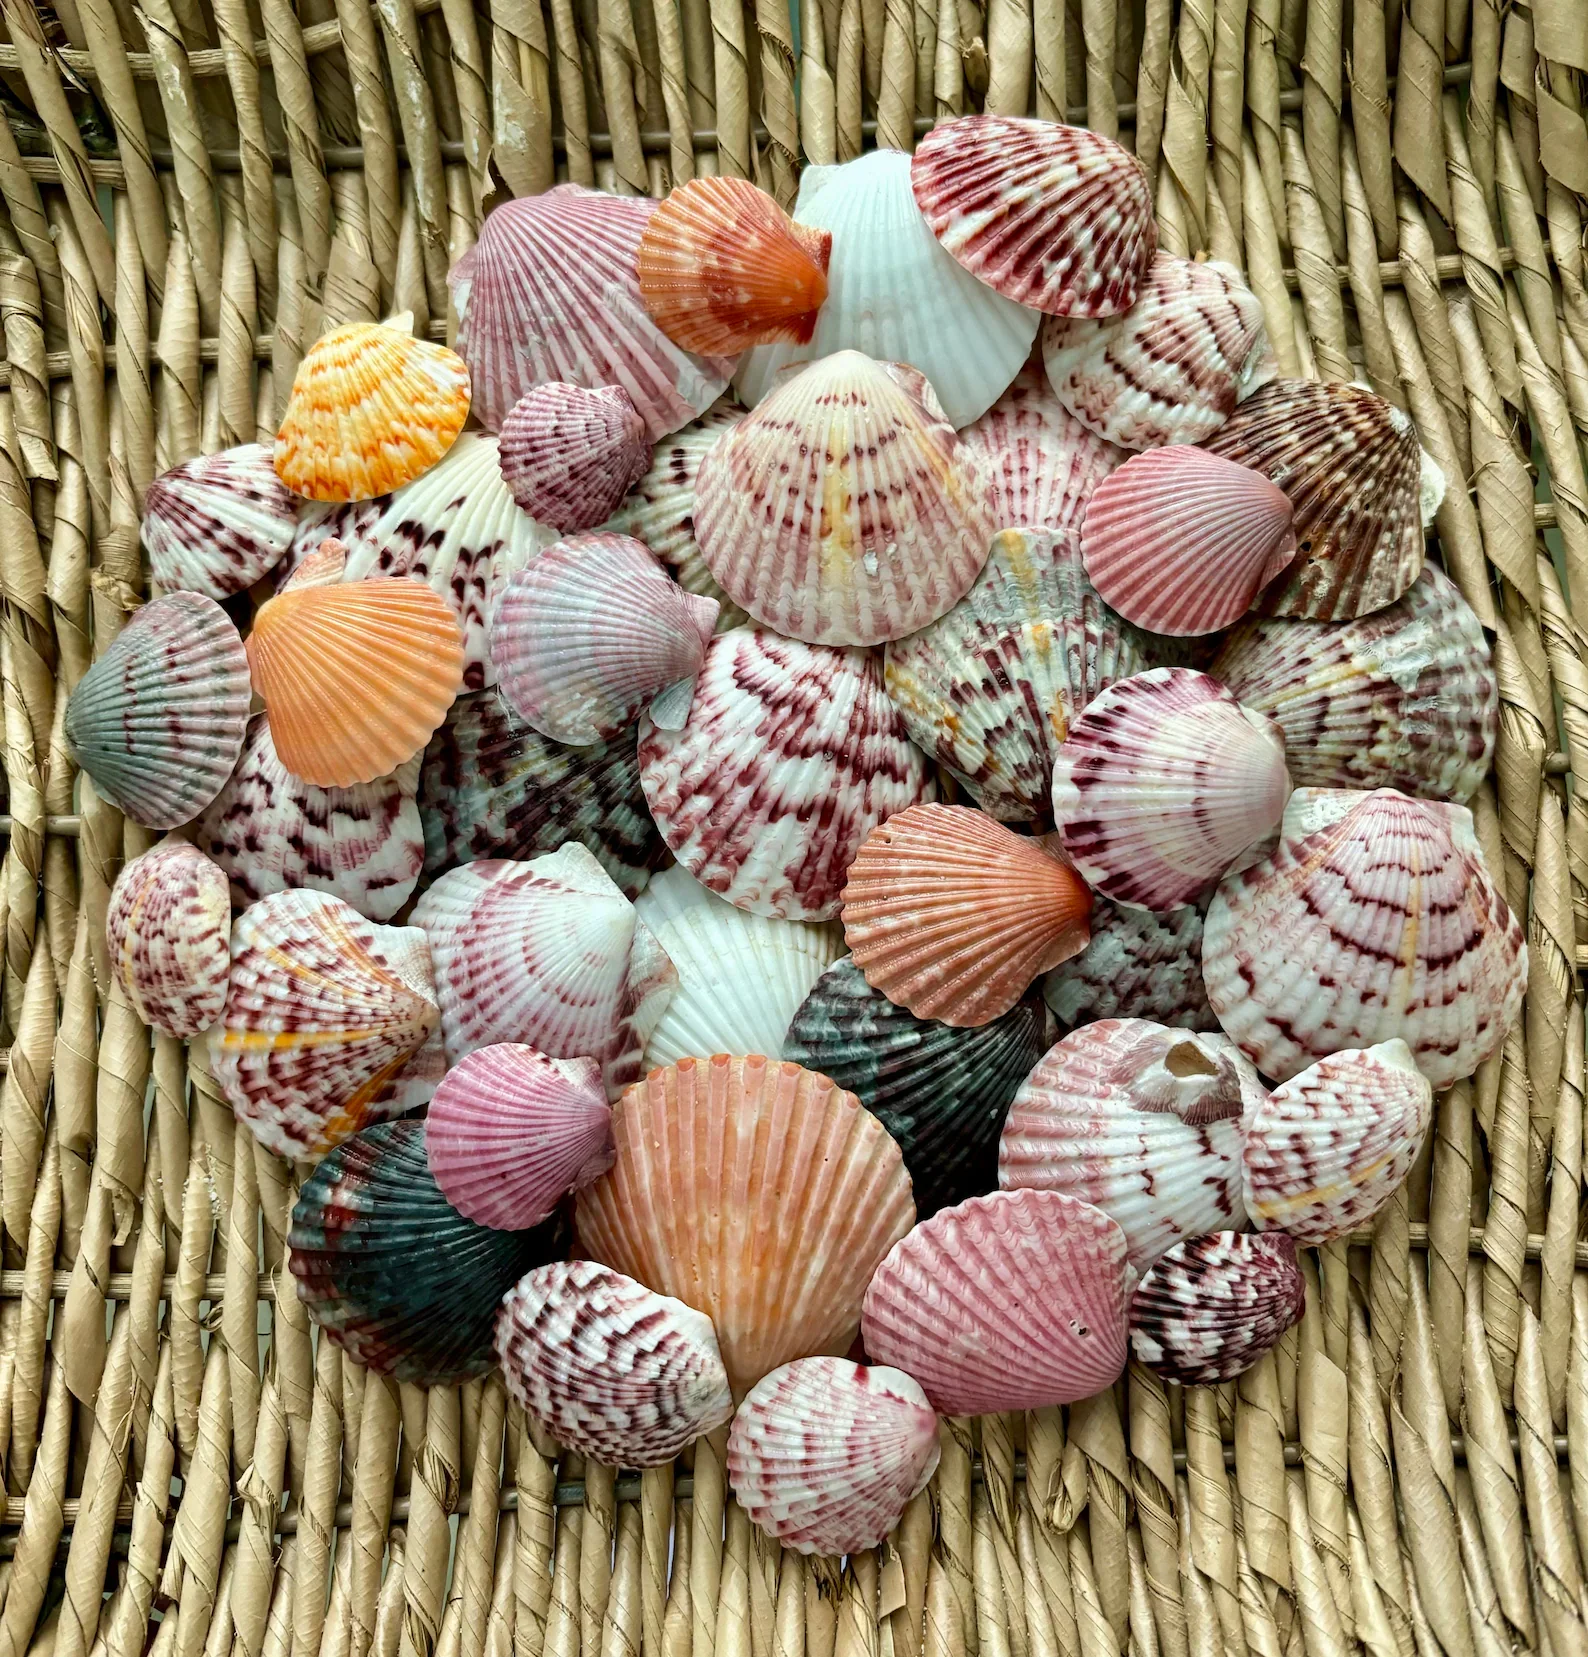
Need a quick excuse to go take a long walk on the beach? Well, here’s one: go on a seashell treasure hunt! And, it’s for a very good cause; it’s therapeutic - you get some fresh air, and saves money on your coastal home decor budget (wink-wink).
But what do you do with all those seashell treasures once you're back home? Simply turn them into some cool and unique pieces of coastal home decor instead of letting them gather dust in a jar on a shelf.
These DIY seashell projects are not only a practical way to preserve your beach memories, but they also offer a charming, seaside aesthetic that is great for gift-giving.
In this post, you'll find inspiration in my list of the five most popular seashell DIY crafts regardless if you’re a seasoned DIYer or just starting out.
I’ll walk you through each one with clear instructions, material lists, and tips on how to style your beautiful new creations.
Let's dive in!
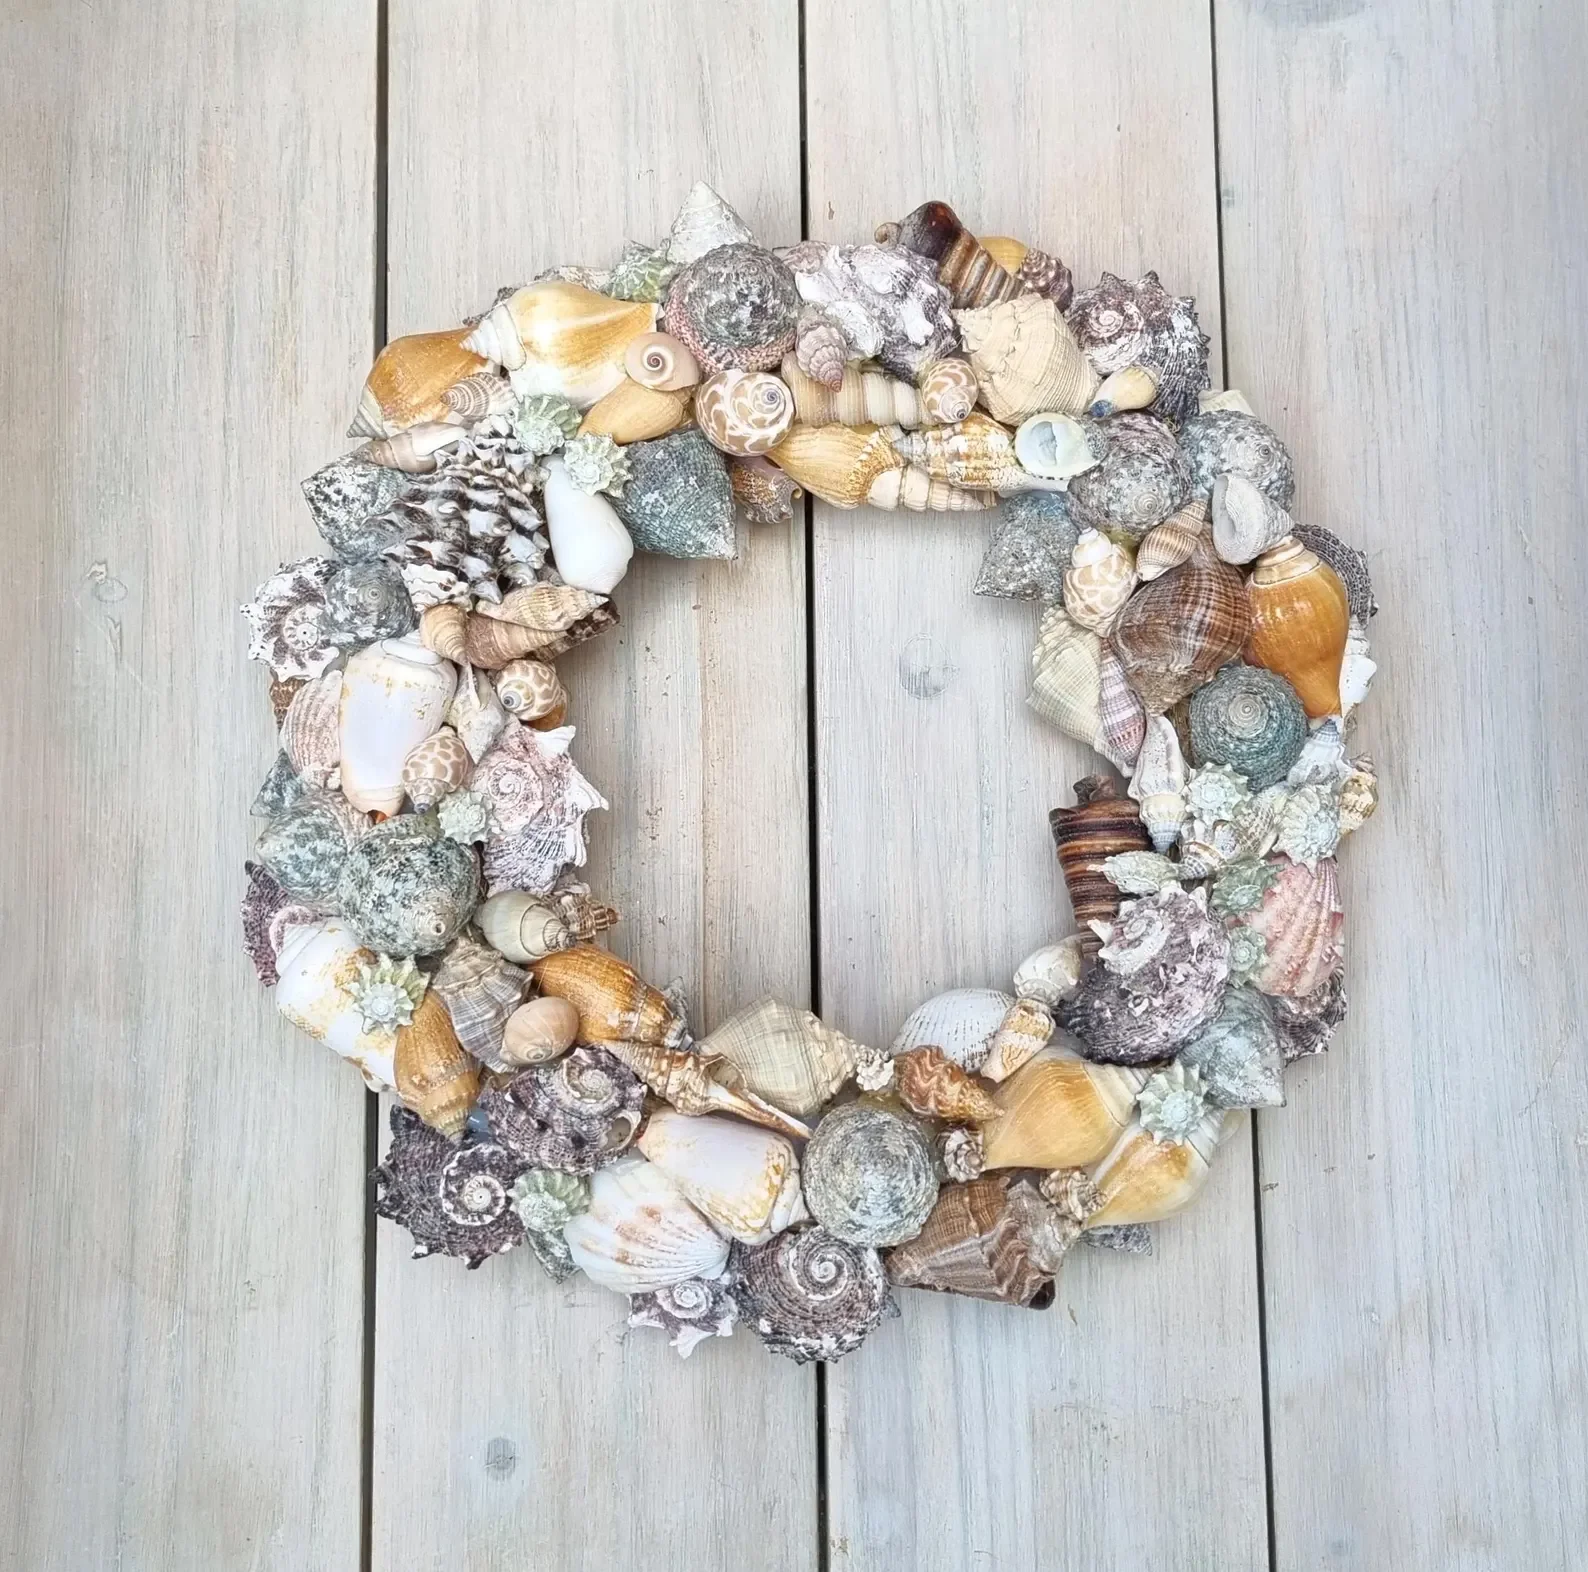
1. Seashell Wreath DIY: A Coastal Welcome
A seashell wreath is a classic piece of coastal decor that welcomes guests with its natural charm. It’s a wonderful way to showcase a variety of your favorite shells, creating a focal point that’s both rustic and refined.
Difficulty Level: Moderate
Materials Needed:
Sturdy wreath form (grapevine, foam, or wire)
Assortment of seashells (cleaned and dried)
Hot glue gun and plenty of glue sticks
Strong craft adhesive (e.g., E6000, for added durability)
Ribbon, burlap, or twine for hanging (optional)
Decorative elements (starfish, sand dollars, sea glass - optional)
Protective surface (newspaper, craft mat)

Step-by-Step Instructions:
Prepare Your Wreath Form: For a foam form, wrap it in burlap or paint it a neutral color first.
Sort Your Shells: Arrange your shells by size and shape to plan your design and ensure even distribution.
Start Gluing: Attach your largest, heaviest seashells to the wreath form using both hot glue (for instant hold) and a strong craft adhesive (for long-term durability).
Layer and Fill: Gradually add medium and small shells, overlapping them slightly to create texture and completely cover the wreath form.
Add Embellishments: Incorporate any decorative elements like starfish or sand dollars last.
Secure and Dry: Allow adhesives to dry completely (24 hours) before handling or hanging.
Add Hanger: Attach a loop of ribbon or twine for easy installation.
How to Style: Hang your finished seashell wreath on a protected front door or above a mantelpiece. It provides a stunning, natural contrast against dark walls or works perfectly in a sunroom with other coastal home decor items.
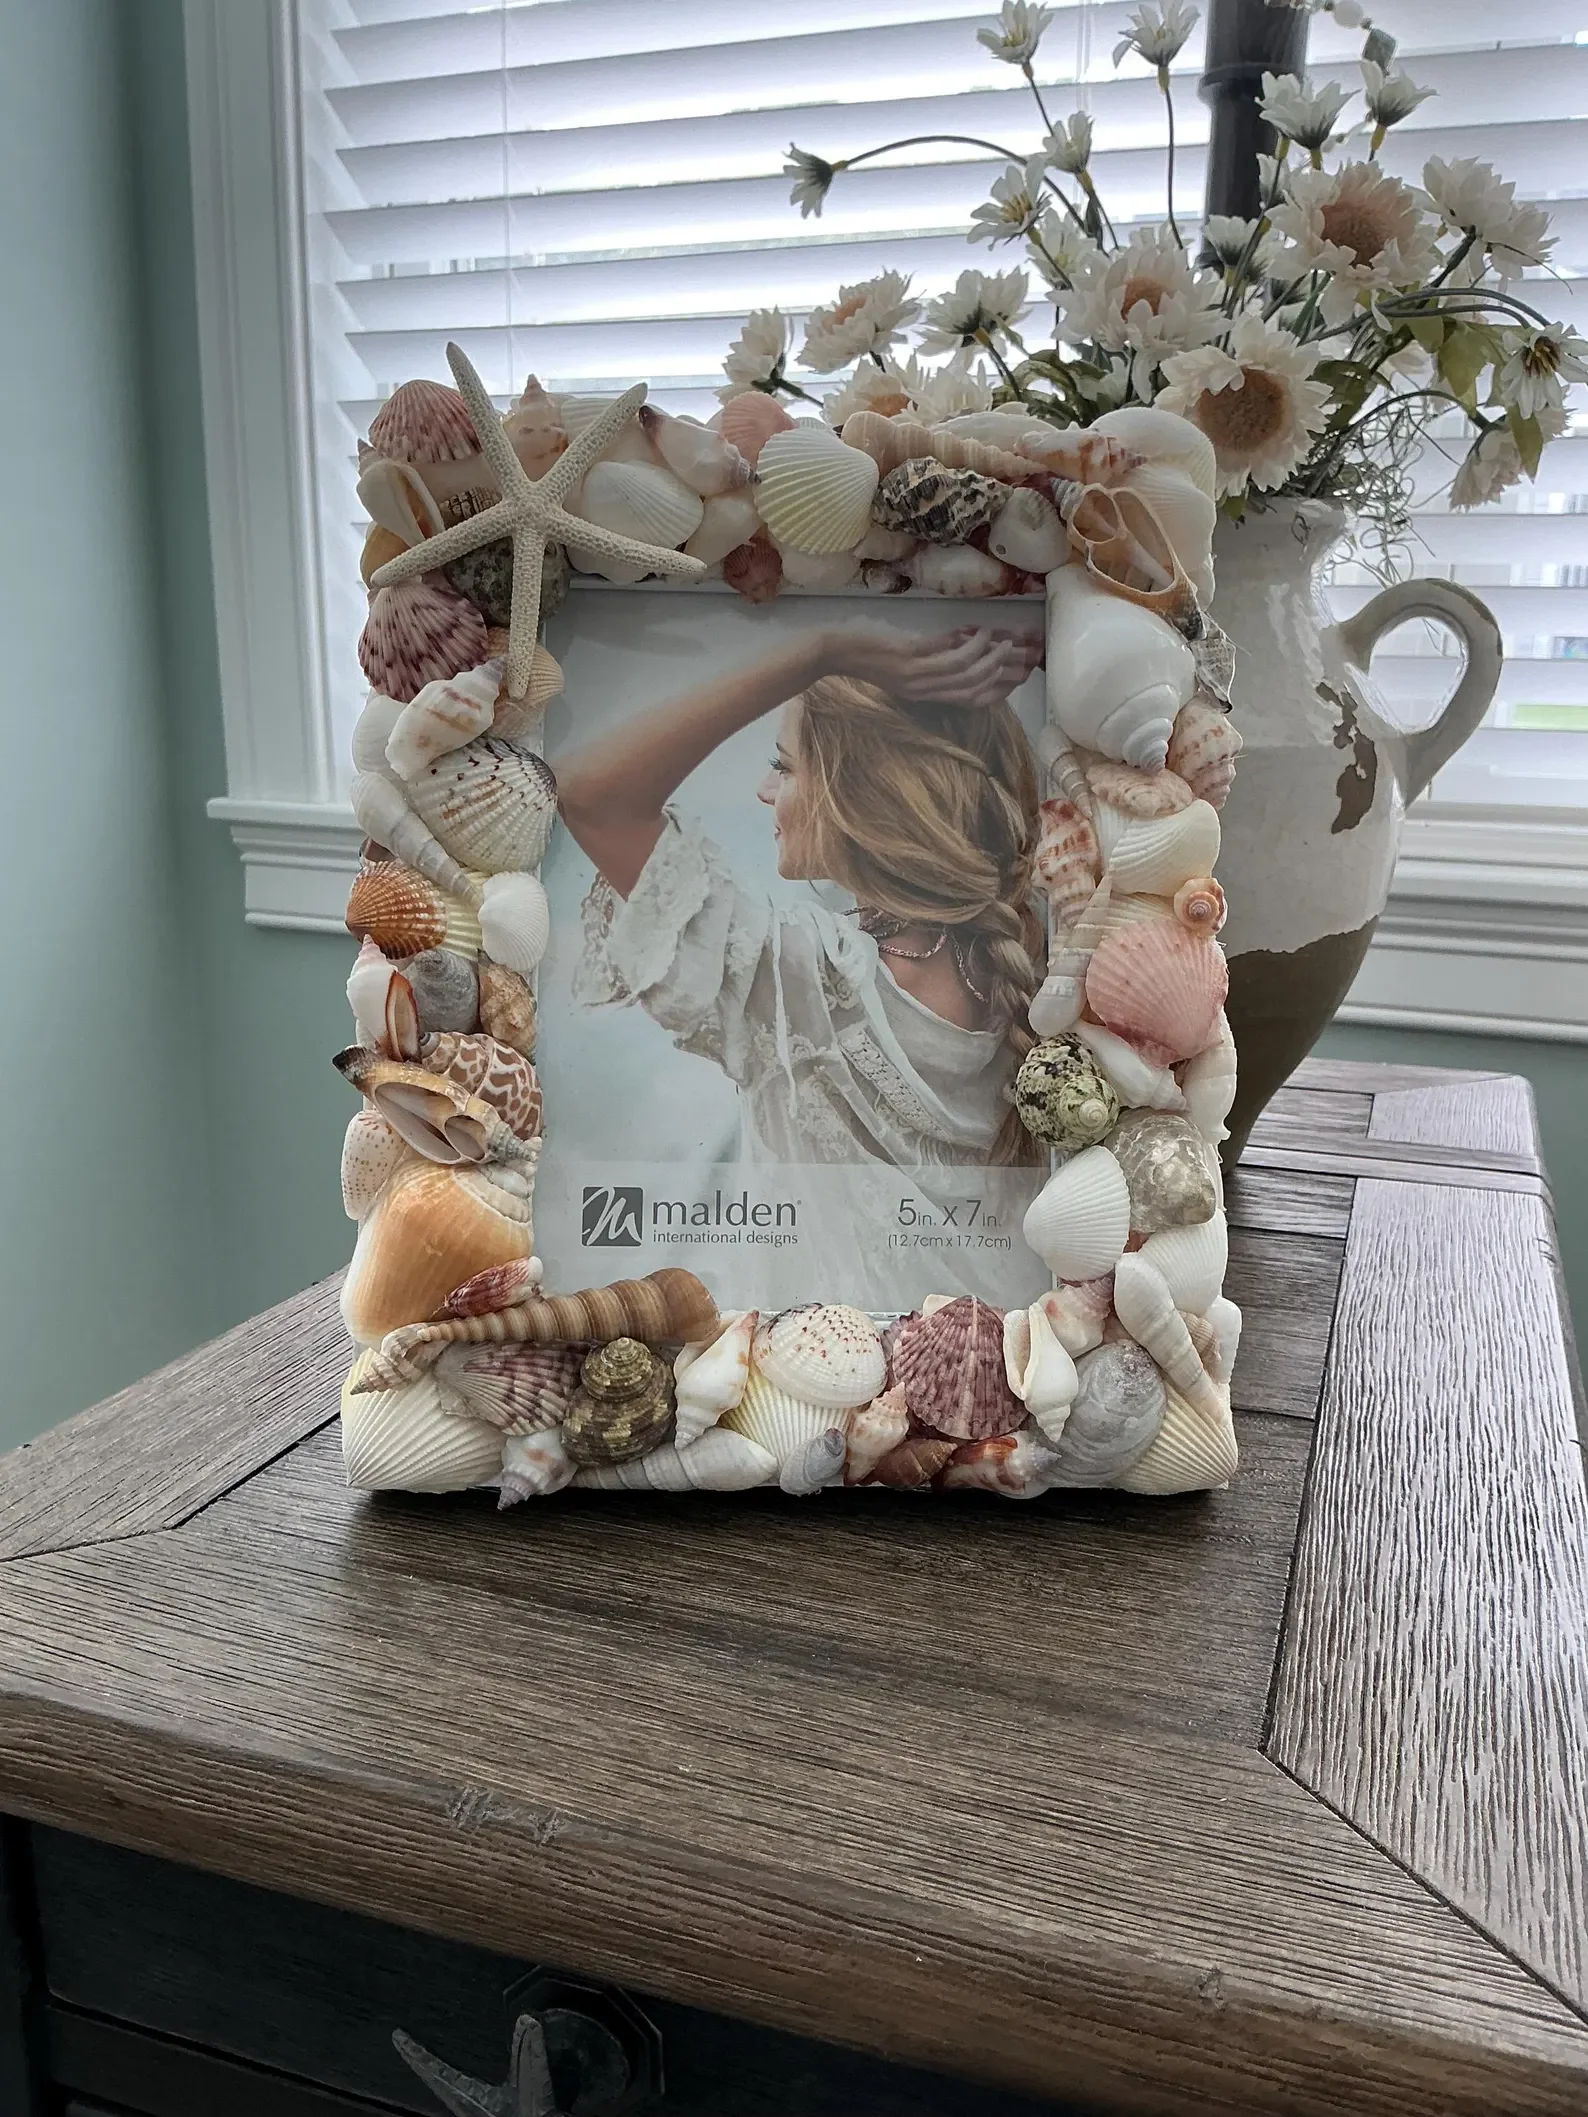
2. Seashell Mirrors & Picture Frames
Transforming a plain mirror or picture frame with shells is an incredible way to add a personalized touch of coastal elegance. These projects frame your reflections or cherished memories with natural beauty.

Difficulty Level: Easy to Moderate
Materials Needed:
Plain mirror (with a flat frame) or wooden/plastic picture frame
Assortment of seashells (cleaned and dried), varying sizes work best
Strong craft adhesive (e.g., E6000)
Protective surface
Optional: Acrylic paint, clear sealant spray
Step-by-Step Instructions:
Prepare the Frame: Clean the frame and paint it a neutral backdrop color (white or cream) if desired.
Plan Your Design: Lay out your shells around the frame to plan the arrangement. Decide whether you want a tightly packed or scattered look.
Attach Larger Shells: Start by gluing the largest shells onto the frame using both hot glue and craft adhesive.
Layer and Fill Gaps: Work your way around, layering medium and smaller shells to fill in gaps and create high dimension.
Detailing: Pay special attention to corners, often the perfect spot for clusters of unique shells.
Seal (Optional): Once dry (24 hours), spray the shell-covered area with a clear sealant for protection and shine.
How to Style: A seashell mirror makes a statement in an entryway or bathroom. Pair it with woven textures like wicker or linen. Seashell-adorned picture frames are perfect for displaying beach vacation photos on a gallery wall or a bedside table.
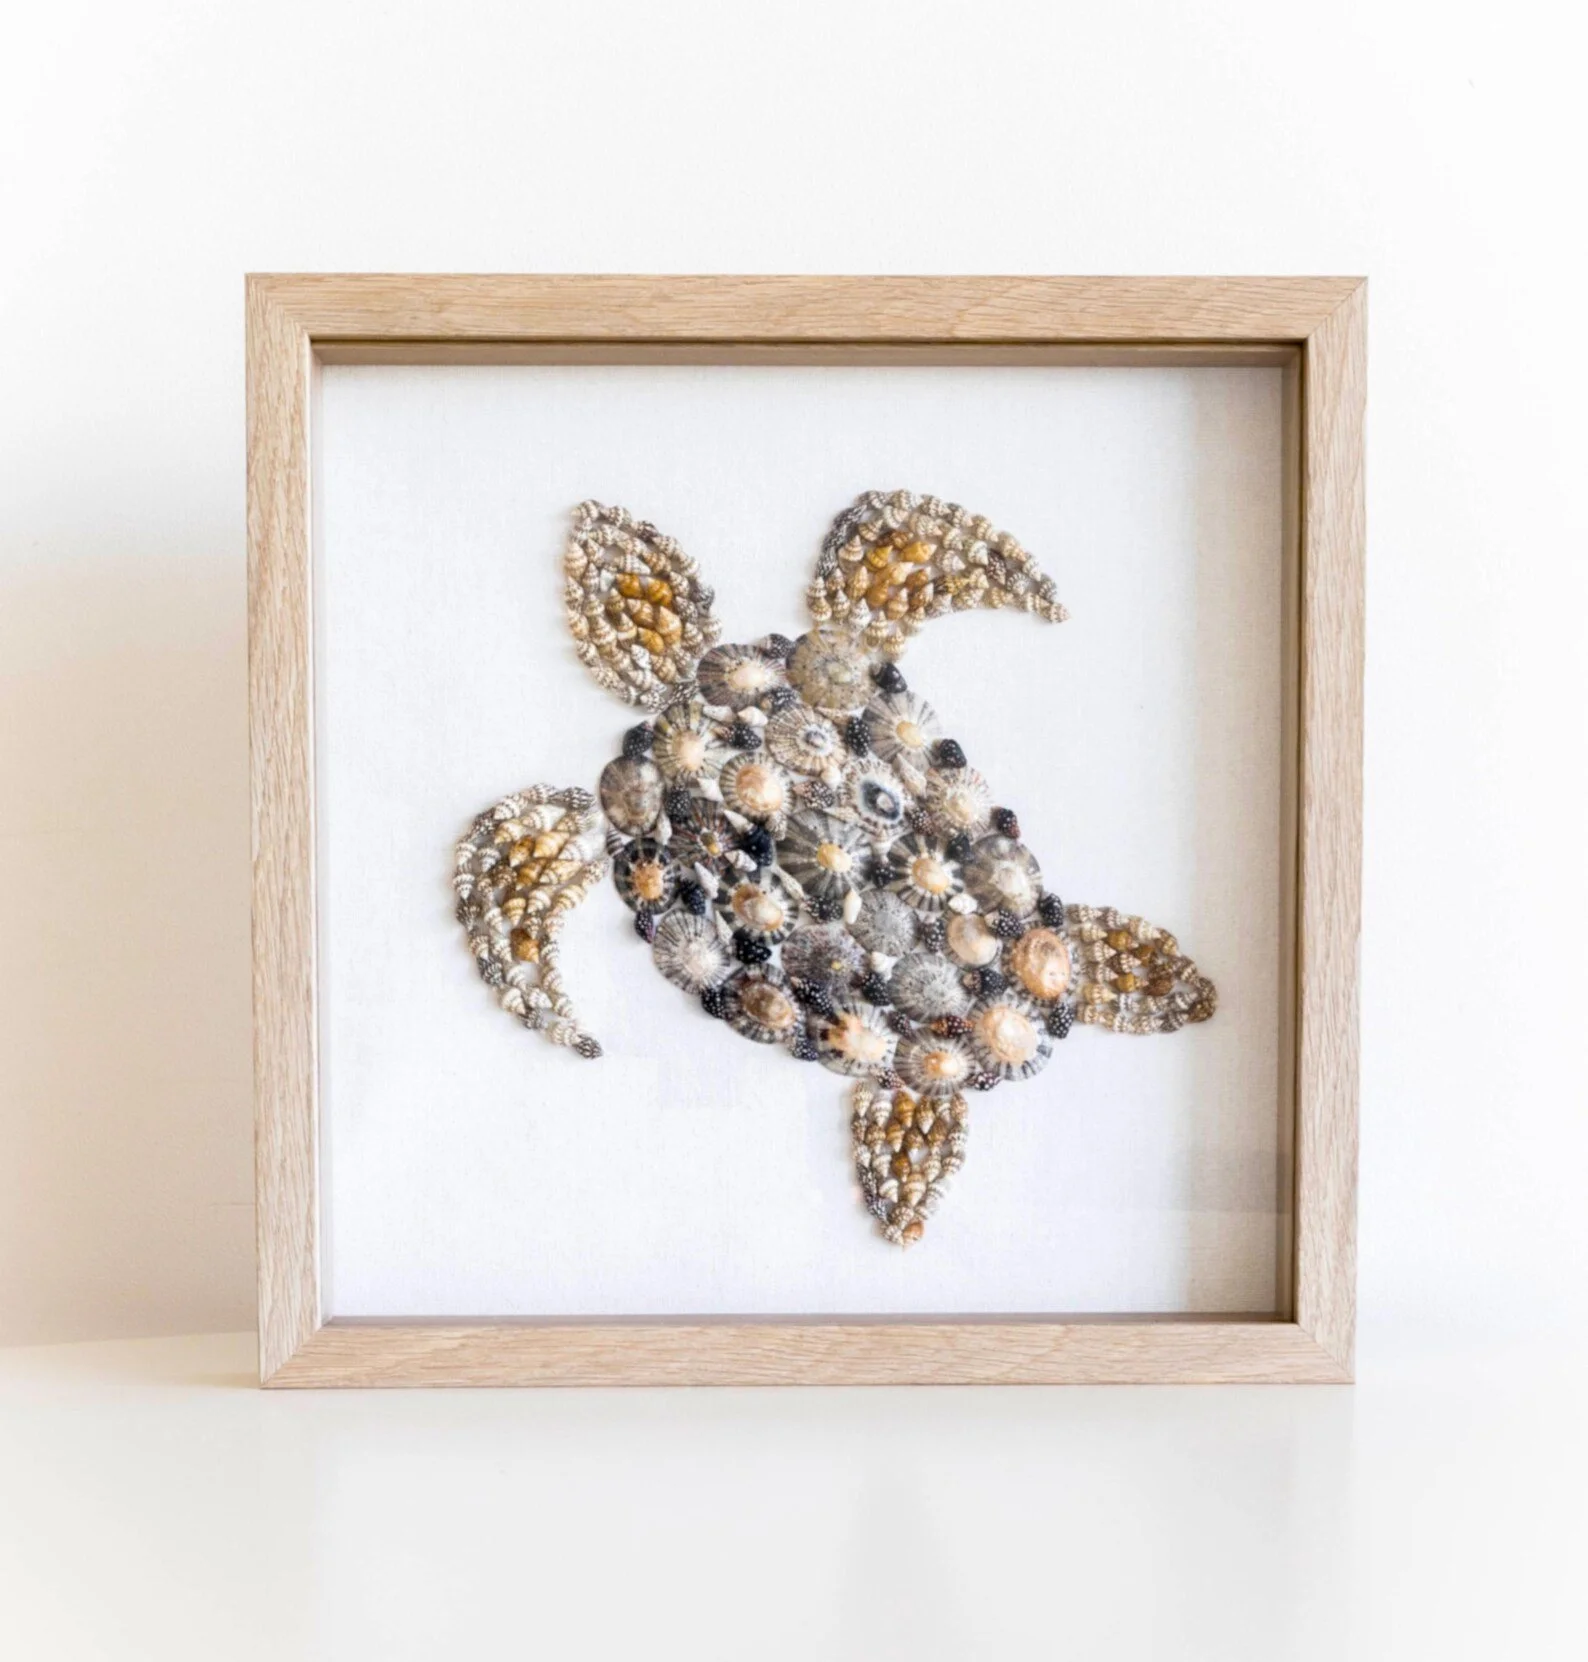
3. Seashell Wall Art and Mosaics
This project is highly customizable, allowing you to use shells of different shapes and colors to create stunning, dimensional artwork. This is a top-tier seashell DIY project for creative expression.
Difficulty Level: Easy to Moderate
Materials Needed:
Canvas, wooden board, or shadow box frame (base for the art)
Assortment of shells (cleaned and dried)
Acrylic paint (for painting the background)
Hot glue gun and glue sticks
Pencil and ruler (for sketching a design)
Clear resin kit (optional, for a glossy finish)

Step-by-Step Instructions:
Prepare the Base: Paint your canvas or board a complementary color (deep blue, sand beige, or white) and let it dry.
Sketch the Design: Lightly sketch your design (e.g., an abstract wave, initial, or anchor shape) onto the background.
Create the Mosaic: Begin gluing the shells down, starting with the outline or largest components. Use shells of varying depths to build dimension.
Layer and Fill: Continue placing shells tightly for a mosaic effect, ensuring the background is covered.
Add Texture: Contrast smooth shells with jagged pieces for visual interest.
Seal (Optional): For a glossy, professional finish, carefully mix and pour a layer of clear resin over the finished, dry piece.
How to Style: Seashell wall art is ideal for a coastal-themed bathroom or above a sofa. As the art itself is textured and detailed, it often looks best hung alone as a statement piece.
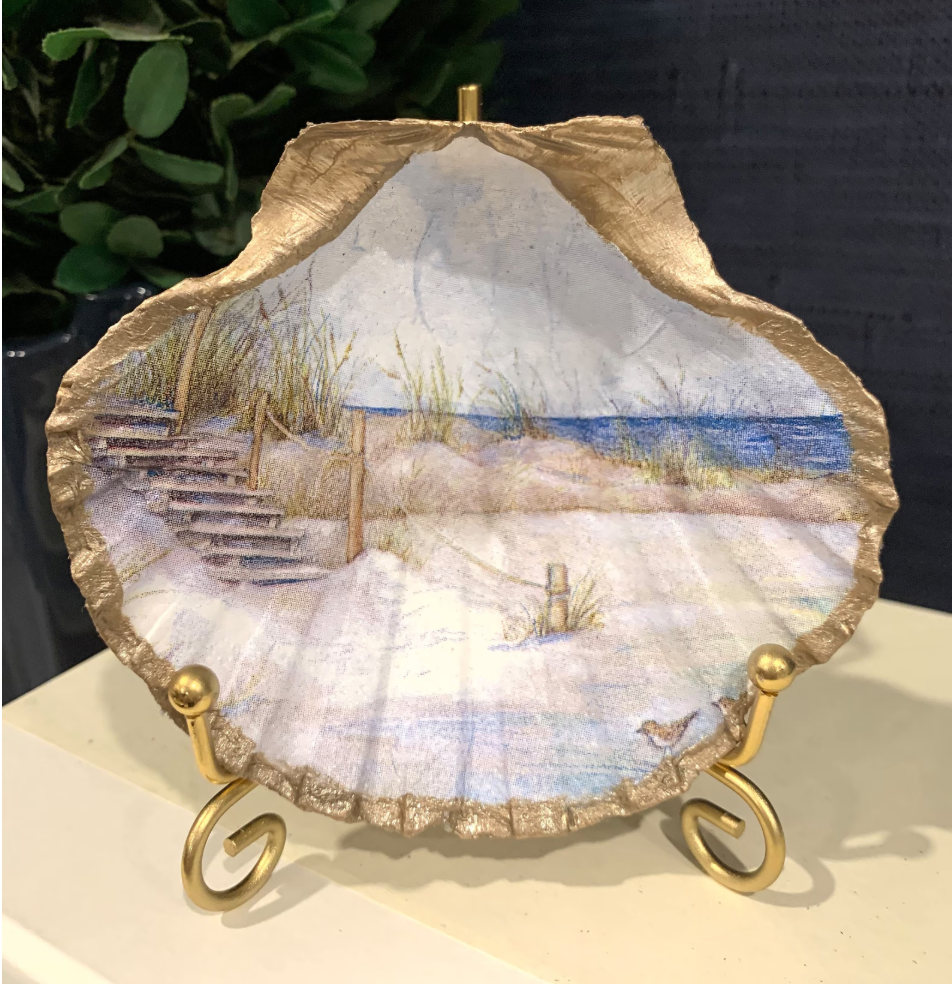
4. Decoupage Seashell Dishes: Elegant Trinket Trays
This easy and elegant DIY seashell craft turns large scallop or oyster shells into beautiful, functional trinket dishes. By adding a colorful paper design and a metallic edge, you create a sophisticated accent piece.
Difficulty Level: Easy
Materials Needed:
Large, concave shells (scallop or oyster, cleaned and dried)
Decoupage medium (e.g., Mod Podge)
Decorative paper napkin (with a small print) or thin paper cutout
Small detail paintbrush
Metallic acrylic paint (gold or silver)
Clear acrylic sealant spray (optional)

Step-by-Step Instructions:
Prepare the Napkin: Separate and use only the thin, printed top layer of the decorative napkin. Cut out the shape to fit inside the shell.
Apply Decoupage Medium: Brush a thin layer of medium onto the interior of the shell.
Place the Design: Carefully lay the napkin piece onto the wet medium and gently smooth out any wrinkles.
Seal the Design: Apply a second, thin layer of decoupage medium over the top of the napkin, sealing it completely. Let it dry.
Paint the Edge (Optional): Apply a thin line of metallic paint along the outer rim for a polished finish.
Final Seal: Spray the entire finished dish with a clear acrylic sealant for maximum durability.
How to Style: Place these beautiful decoupage seashell dishes on a vanity or dresser to hold rings, earrings, or keys. They also make excellent, personalized, high-end looking gifts.
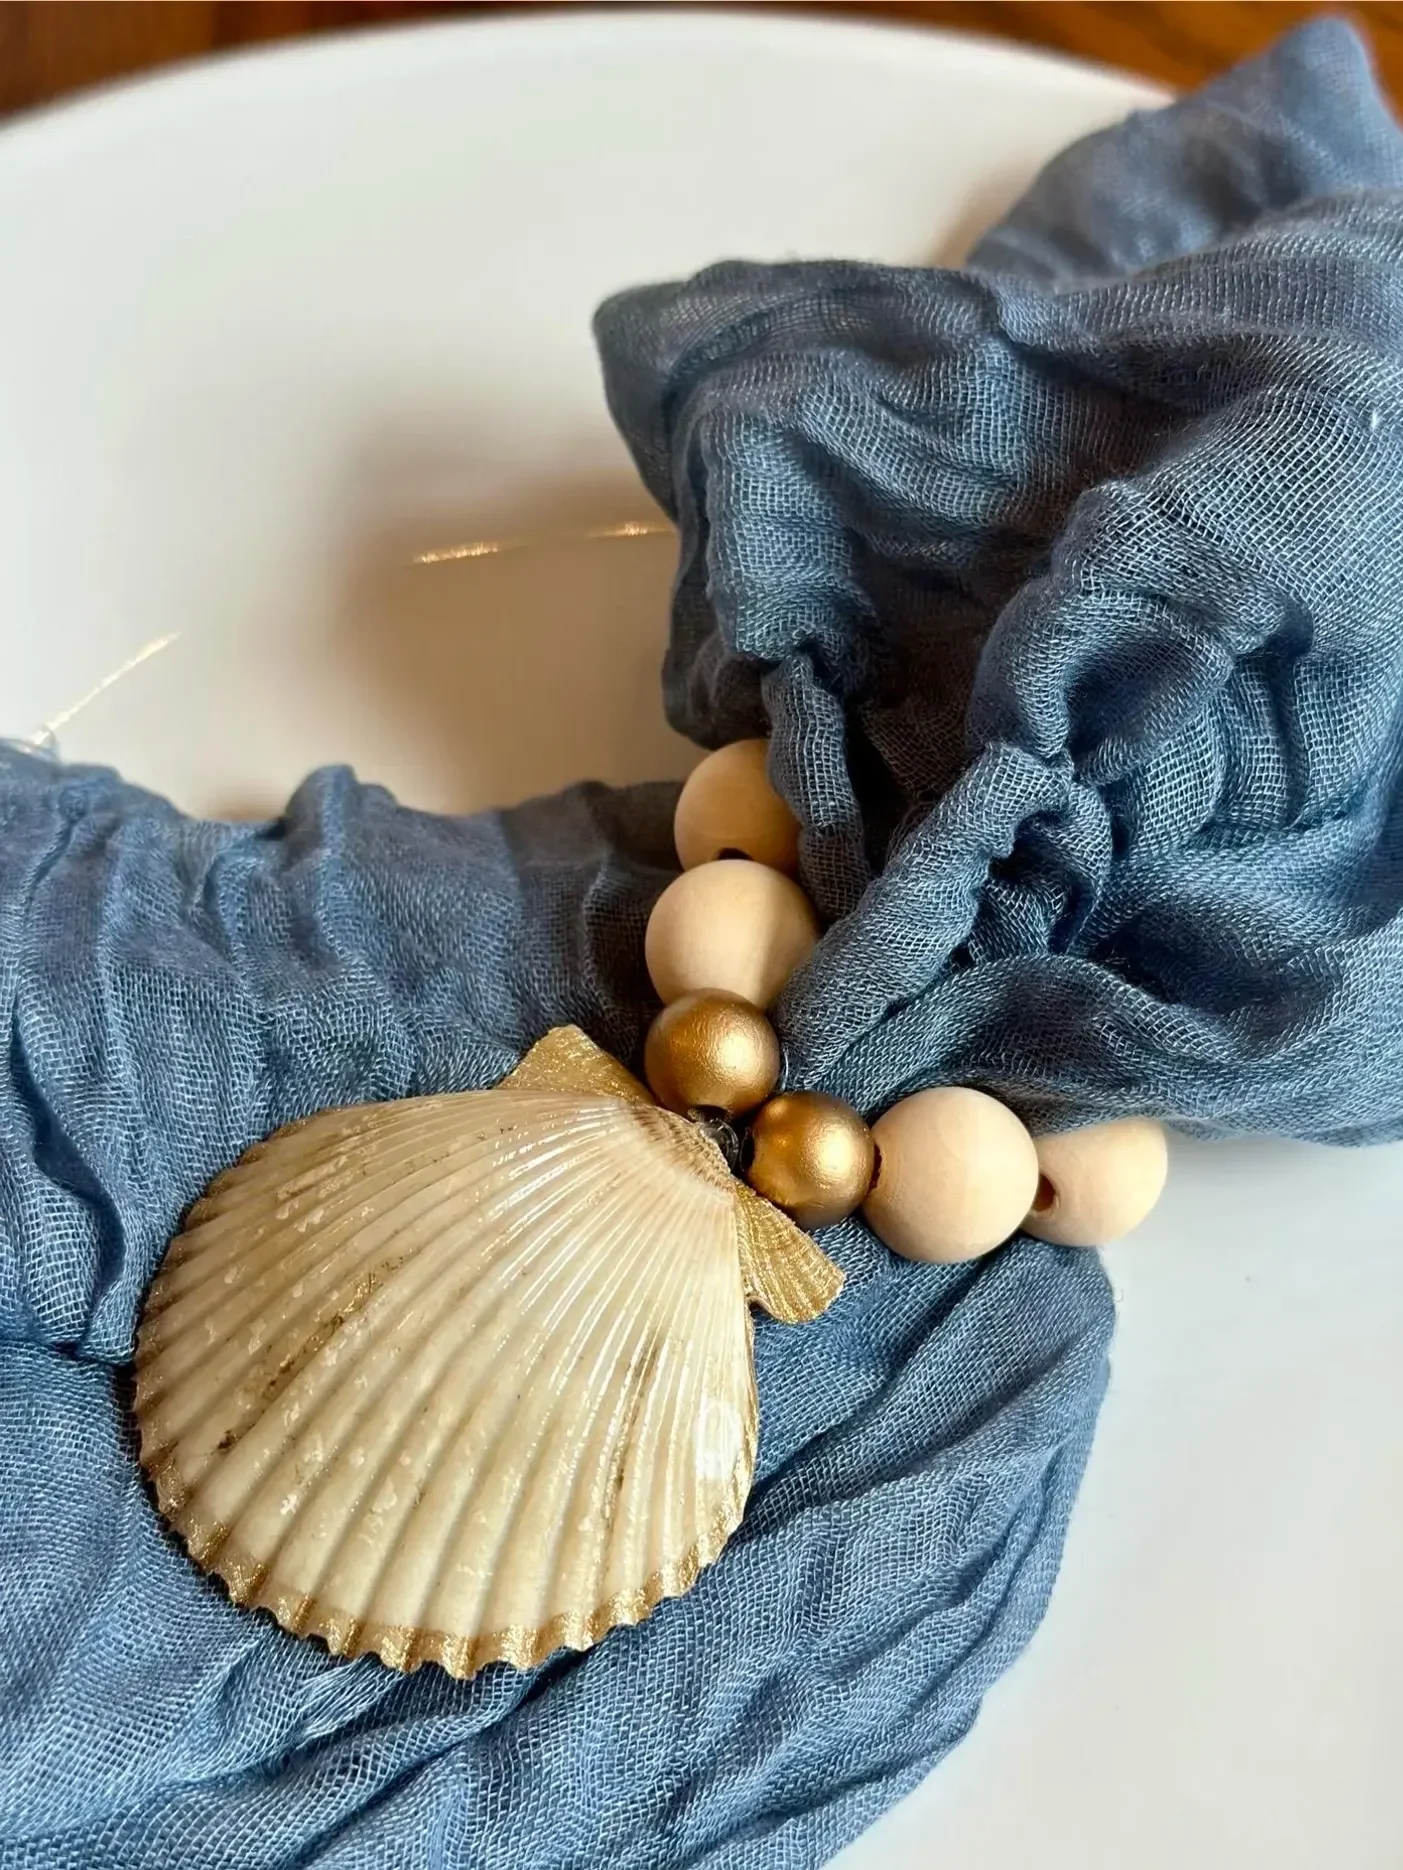
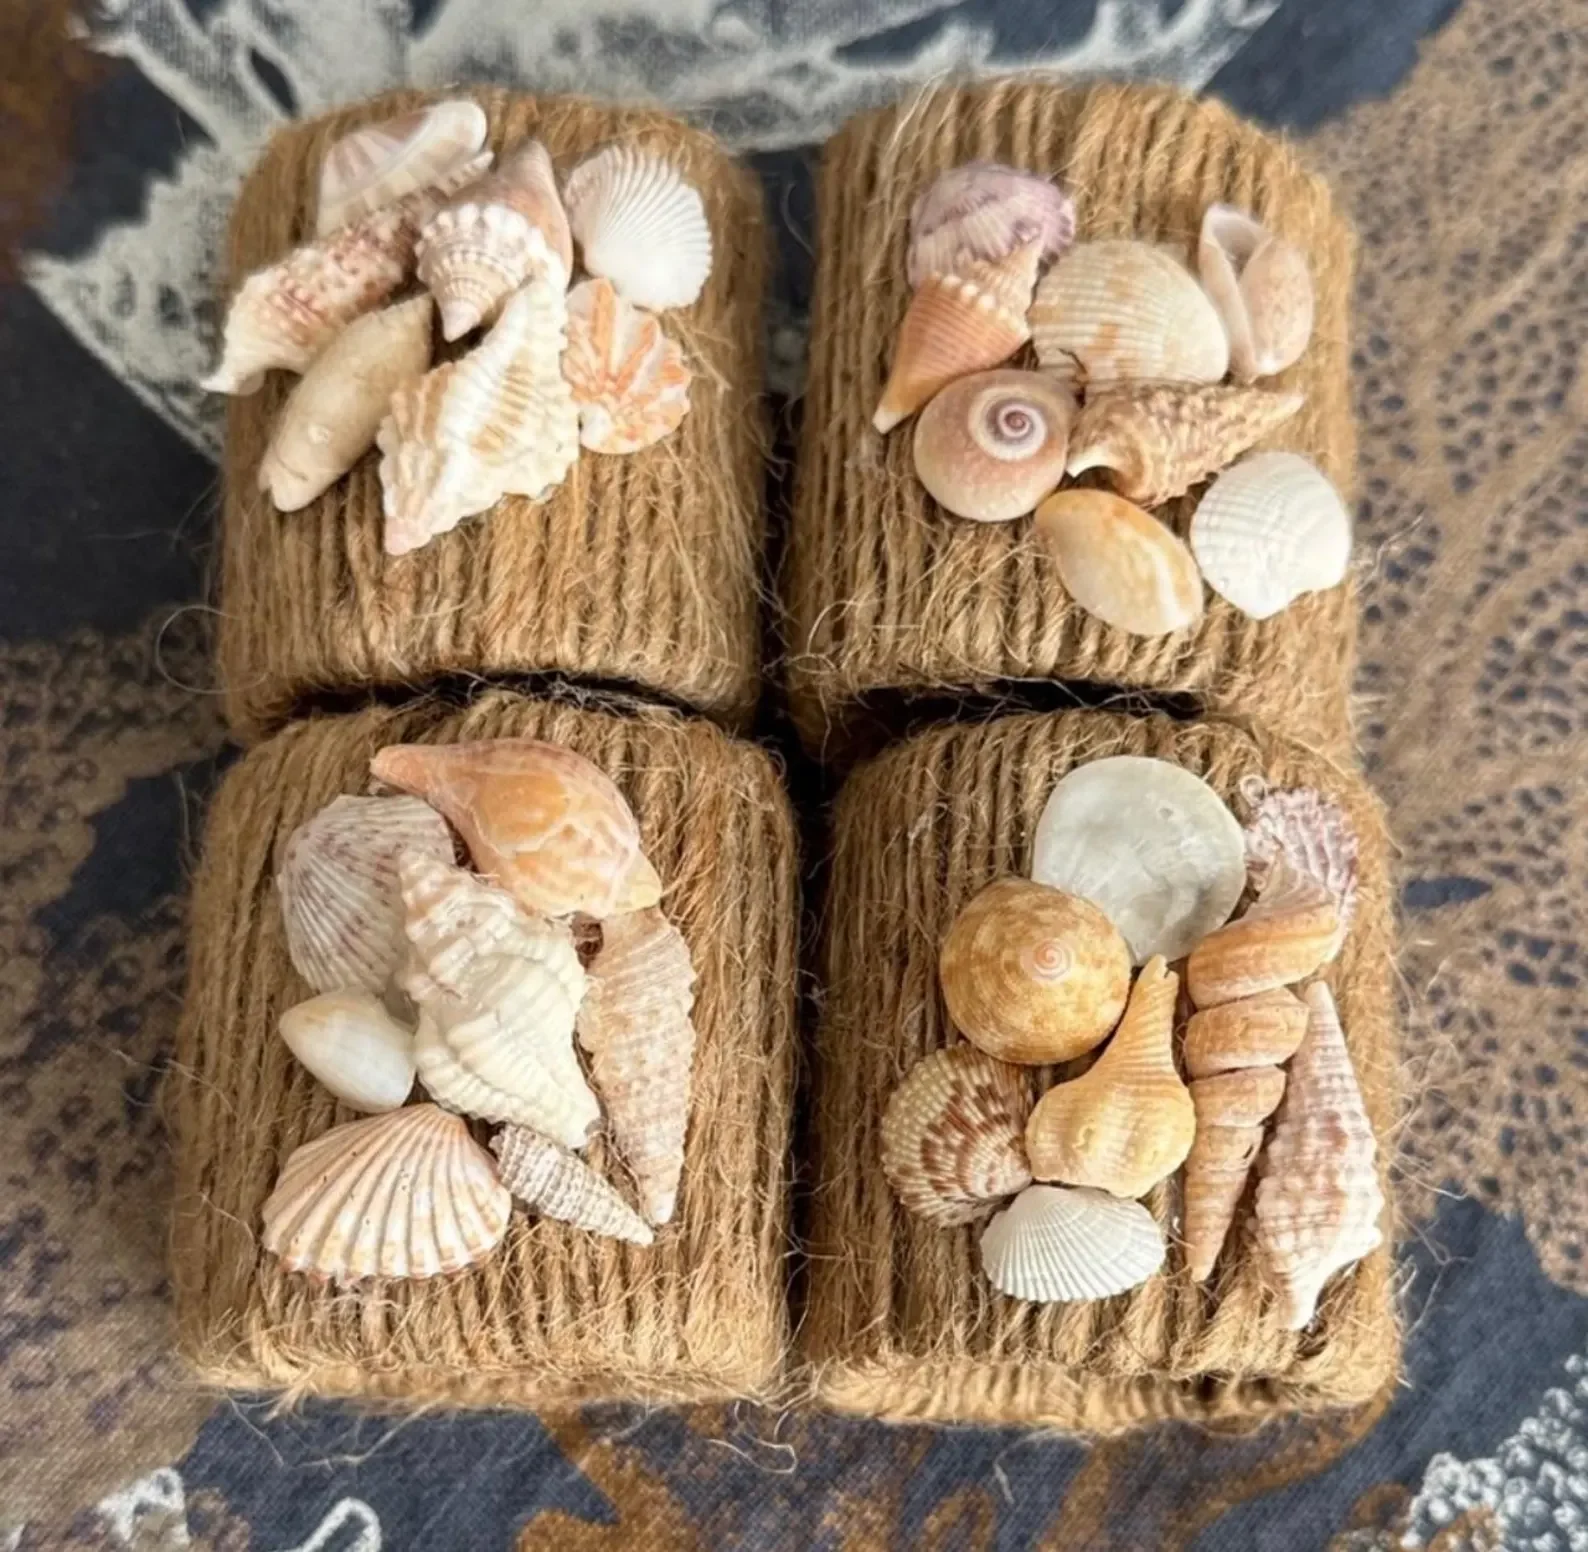
5. Seashell Napkin Rings
This is a quick and simple seashell craft that brings instant coastal flair to your dining table. Using just a few small shells, you can transform a plain table setting into an elegant seaside presentation.
Difficulty Level: Easy
Materials Needed:
Plain napkin rings (wood, metal, or plastic)
Small, uniform seashells (periwinkles, tiny clam shells)
Hot glue gun and glue sticks
Tweezers (helpful for placing tiny shells)
Step-by-Step Instructions:
Prepare the Napkin Ring: Ensure the ring is clean and dry.
Plan the Placement: Decide on a cluster of shells at the top or coverage across the entire ring.
Start Gluing: Apply a small dab of hot glue to the back of a shell and press it firmly onto the napkin ring.
Layer and Build: If creating a cluster, start with the largest shell at the center and build around it. If covering the whole ring, apply shells tightly next to each other for a seamless finish.
Check for Stability: Ensure all shells are secure and there are no sharp edges facing outward that could snag a napkin.
How to Style: Use these napkin rings for summer entertaining or any coastal-themed event. They look best paired with crisp white napkins, natural linen, and wood accents.
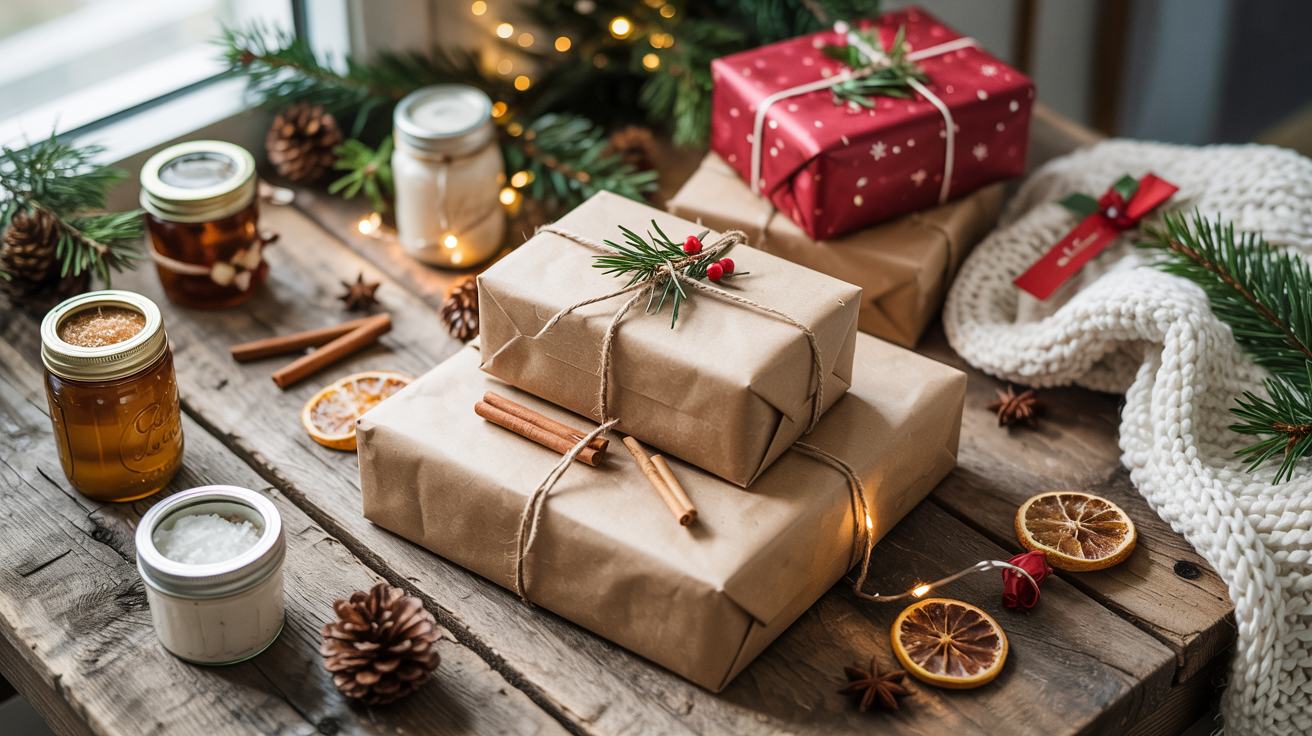
Creative Ways to Give Meaningful Gifts When Money Is Tight
Get Started on Your Seashell DIY Crafts Today!
From functional art to elegant home decor, these ideas are just a reminder that you can turn your random (or curated) seashell collection into beautiful, meaningful DIY seashell projects.
Whether you choose the complex layering of a mirror or the simple charm of a seashell napkin ring, you are creating a keepsake preserving the memories of those long walks on the beach searching for that perfect, unique seashell.
I hope this guide to the 5 most popular seashell DIY projects has inspired your next coastal home decor craft.
So let’s grab our shells, fire up that glue gun, and start crafting our own piece of paradise today!
My 8 Rules for Festive Decor (Without the Clutter or Chaos)
Frequently Asked Questions (FAQ) About Seashell DIY Projects
Q1: What is the best type of adhesive to use for permanent seashell crafts like wreaths and mirrors?
A: For permanent projects, it is recommended to use both hot glue and a strong craft adhesive (like E6000). Hot glue provides an instant hold so the shells don't shift, while the stronger adhesive ensures a durable, lasting bond that prevents pieces from falling off over time.
Q2: How should I prepare my seashells before using them in DIY projects?
A: Seashells must be cleaned and completely dried before use. Soak them in a mixture of water and a small amount of bleach or mild soap, scrub off any dirt or debris, rinse thoroughly, and let them air dry completely (ideally in the sun) to eliminate any lingering odors or moisture that could affect the adhesive.
Q3: What is the fastest and easiest seashell craft on this list for a beginner?
A: The Seashell Napkin Rings are the fastest and easiest project for beginners, requiring minimal materials (just napkin rings, small shells, and hot glue) and simple assembly. The Decoupage Seashell Dishes are also very easy and only require one layer of large shells.
Q4: Which seashells are best for creating the Decoupage Dishes?
A: The best shells for decoupage are large, concave shells, such as scallop or oyster shells, as they provide a smooth, bowl-like surface for applying the paper design and function well as trinket dishes.
Q5: How can I protect my seashell crafts, especially if they are hanging outside?
A: To protect your seashell crafts, especially pieces like wreaths or wall art, spray the entire shell-covered area with a clear, exterior-grade acrylic sealant (matte or gloss). This protects the shells from dust and moisture, although it's best to keep seashell wreaths on a protected front door rather than exposed to direct weather.