Driftwood Decor Disasters: 7 Mistakes Experts Avoid When DIYing Coastal Home Projects
(Updated: 7/4/26)
This post may contain affiliate links. If you make a purchase through one of my links, I may receive a small commission at no cost to you.
If you love the beach-worn texture of driftwood, chances you’ve already hauled a few treasures home.
I know I have because my personal collection sparked a mild obsession!
However, turning these beautiful, weathered sculptures into functional home decor is rarely as simple as hot-gluing them together.
After years of DIYing beach finds into everything from lamps to furniture, I’ve learned that the most stunning pieces succeed because they avoid crucial mistakes in preparation, safety, and construction.
Key Points
Prep is Mandatory: Always sanitize and thoroughly dry found driftwood to prevent pests, mold, and rot (Mistake #1).
Structure Over Stick: Use structural hardware, specialized glue, or marine varnish instead of relying on basic adhesives for lasting, safe projects (Mistake #2, #4).
Follow the Form: Work with the wood's natural bends and shapes instead of forcing a predetermined design onto it (Mistake #7).
Don't let these common pitfalls ruin your next DIY coastal masterpiece. Here are the seven mistakes experts never make when creating lasting driftwood decor (I’ve also included 12 idea pics for some inspo!):
Mistake 1: Skipping the Mandatory Pre-Cleaning Ritual
The romance of a piece of driftwood is the journey it’s taken. But that journey often includes marine bacteria, sand fleas, or even tiny burrowing insects. Putting an uncleaned piece straight into your home is an absolute recipe for a pest disaster (trust me, I learned this the hard way).
The Expert Solution: The Prep Protocol
Sanitize & Cleanse: Give the wood a thorough soak in a bleach solution (1 part bleach to 10 parts water). This kills hitchhiking critters, bacteria, and spores.
Rinse Thoroughly: Rinse the piece until the smell of chlorine is completely gone.
Dry Completely: Let the piece air dry in the sun for several days (or even weeks for large finds). Ensure it is bone-dry before bringing it inside, especially if using it in an enclosed terrarium!
Mistake 2: Relying on Basic Adhesive for Structural Projects
I’ve seen too many DIY driftwood tables and coat racks collapse because the builder relied solely on standard hot glue or wood glue. While hot glue is great for attaching small shells or light picture frame decor, it has zero structural integrity for weight-bearing items.
The Expert Solution: Match the Glue to the Goal
For Lightweight Decor (Frames, Ornaments): Hot glue or strong craft adhesive is fine.
For Structural Projects (Shelves, Furniture): Invest in proper joinery techniques. Use screws, dowels, and a high-quality, heavy-duty construction adhesive or specialized wood glue to create lasting bonds.
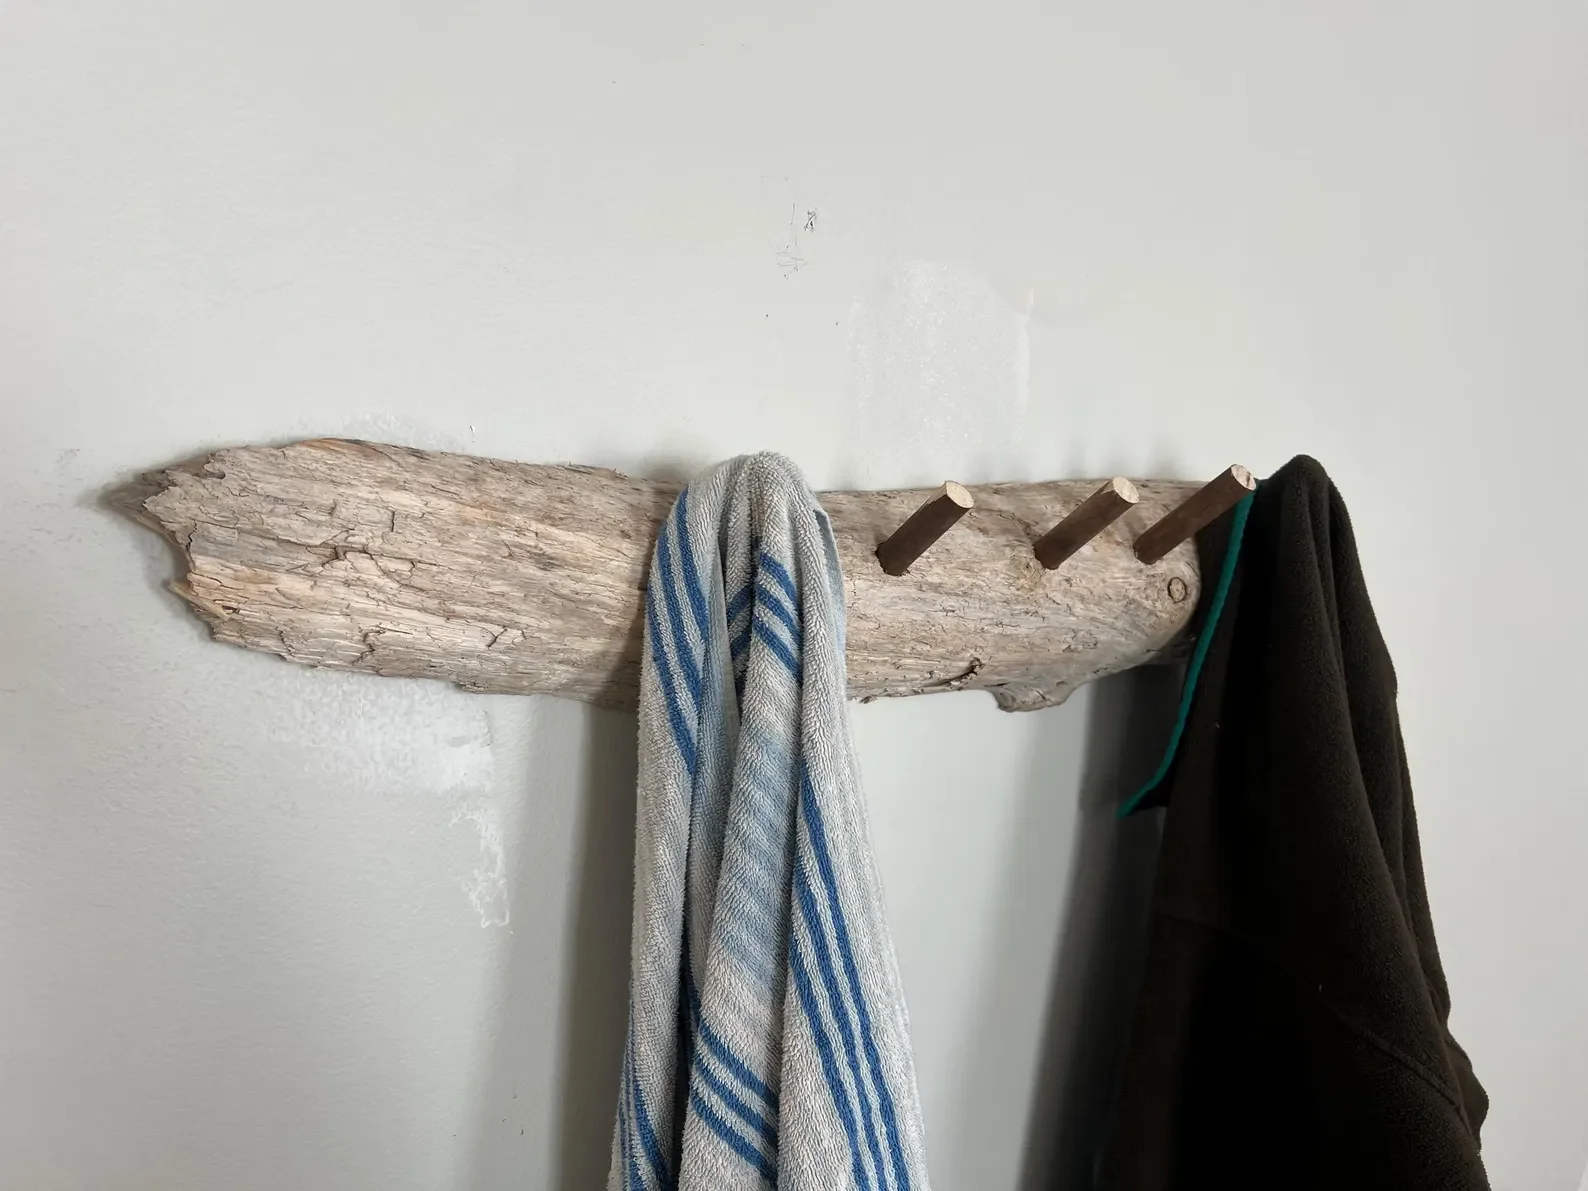
For Hanging Items (Coat Racks): Use the strongest wood glue combined with finishing nails or screws inserted through the back or bottom for reinforcement.
Mistake 3: Ignoring Humidity in Bathroom & Outdoor Decor
If you use unprotected driftwood in a humid environment—like a guest bathroom or on a covered porch—you risk mold, mildew, and warping. The wood may look weathered, but it's not invincible.
The Expert Solution: Seal Against Moisture
For Bathroom Accessories (Towel Racks, Shelves): Apply a light coating of marine varnish or a water-based polyurethane sealant. This protects the wood from moisture absorption without losing its natural look.
For Outdoor Markers (Garden Signs): Always use a water-resistant marker or paint pen designed for outdoor use. Standard paint pens will fade into illegibility after one rainy season.
Mistake 4: Failing to Secure Heavy Items to Studs
The beauty of a driftwood coat rack is its organic, sturdy look. The disaster is when it rips right off the wall during winter. Drywall anchors are simply not enough to hold the weight of a thick piece of wood plus four heavy winter coats.
The Expert Solution: Always Find the Structure
For Coat Racks, Heavy Wall Art, and Shelves: Secure the piece directly into a wall stud. Use a stud finder before drilling.
If a Stud isn't Available: Use the largest, strongest, toggle-style or heavy-duty mounting hardware you can find, but never trust simple drywall plugs. The structural stability is worth the extra few minutes of effort.
Mistake 5: Using Drilled Holes to Hang Delicate Ornaments
When creating small, delicate holiday ornaments or mobiles, drilling a hole through the top for string is the fastest way to split the wood. This mistake often ruins the perfect piece you spent hours looking for.
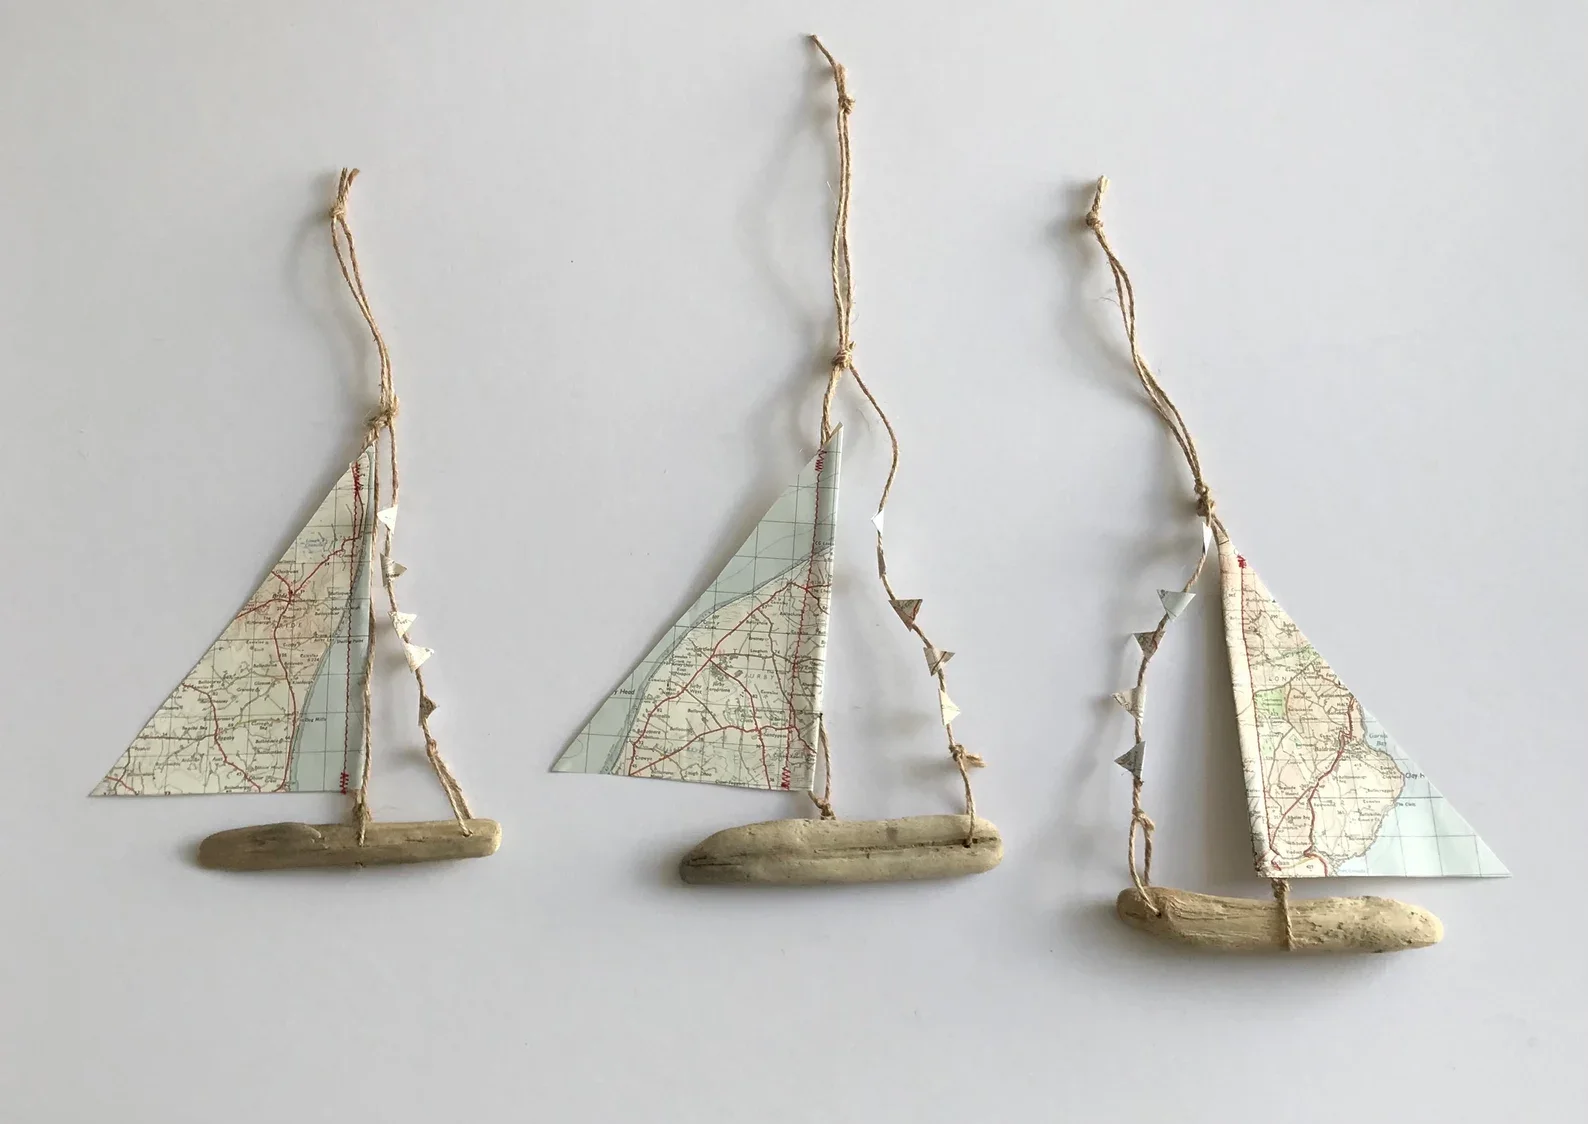
The Expert Solution: Screw Eyes for Stability
For Small Ornaments and Mobiles: Instead of drilling through a thin area, gently twist a small screw eye (a tiny metal loop with a sharp screw end) into the thicker, sturdier section of the wood. This provides a strong, reliable attachment point without risking a structural split.
Mistake 6: Overlooking Proper Balance in Hanging Decor
This applies most acutely to wind chimes and mobiles. It is frustrating to spend an afternoon stringing pieces only to realize the item hangs completely crooked or remains stubbornly silent because the weight is improperly distributed.
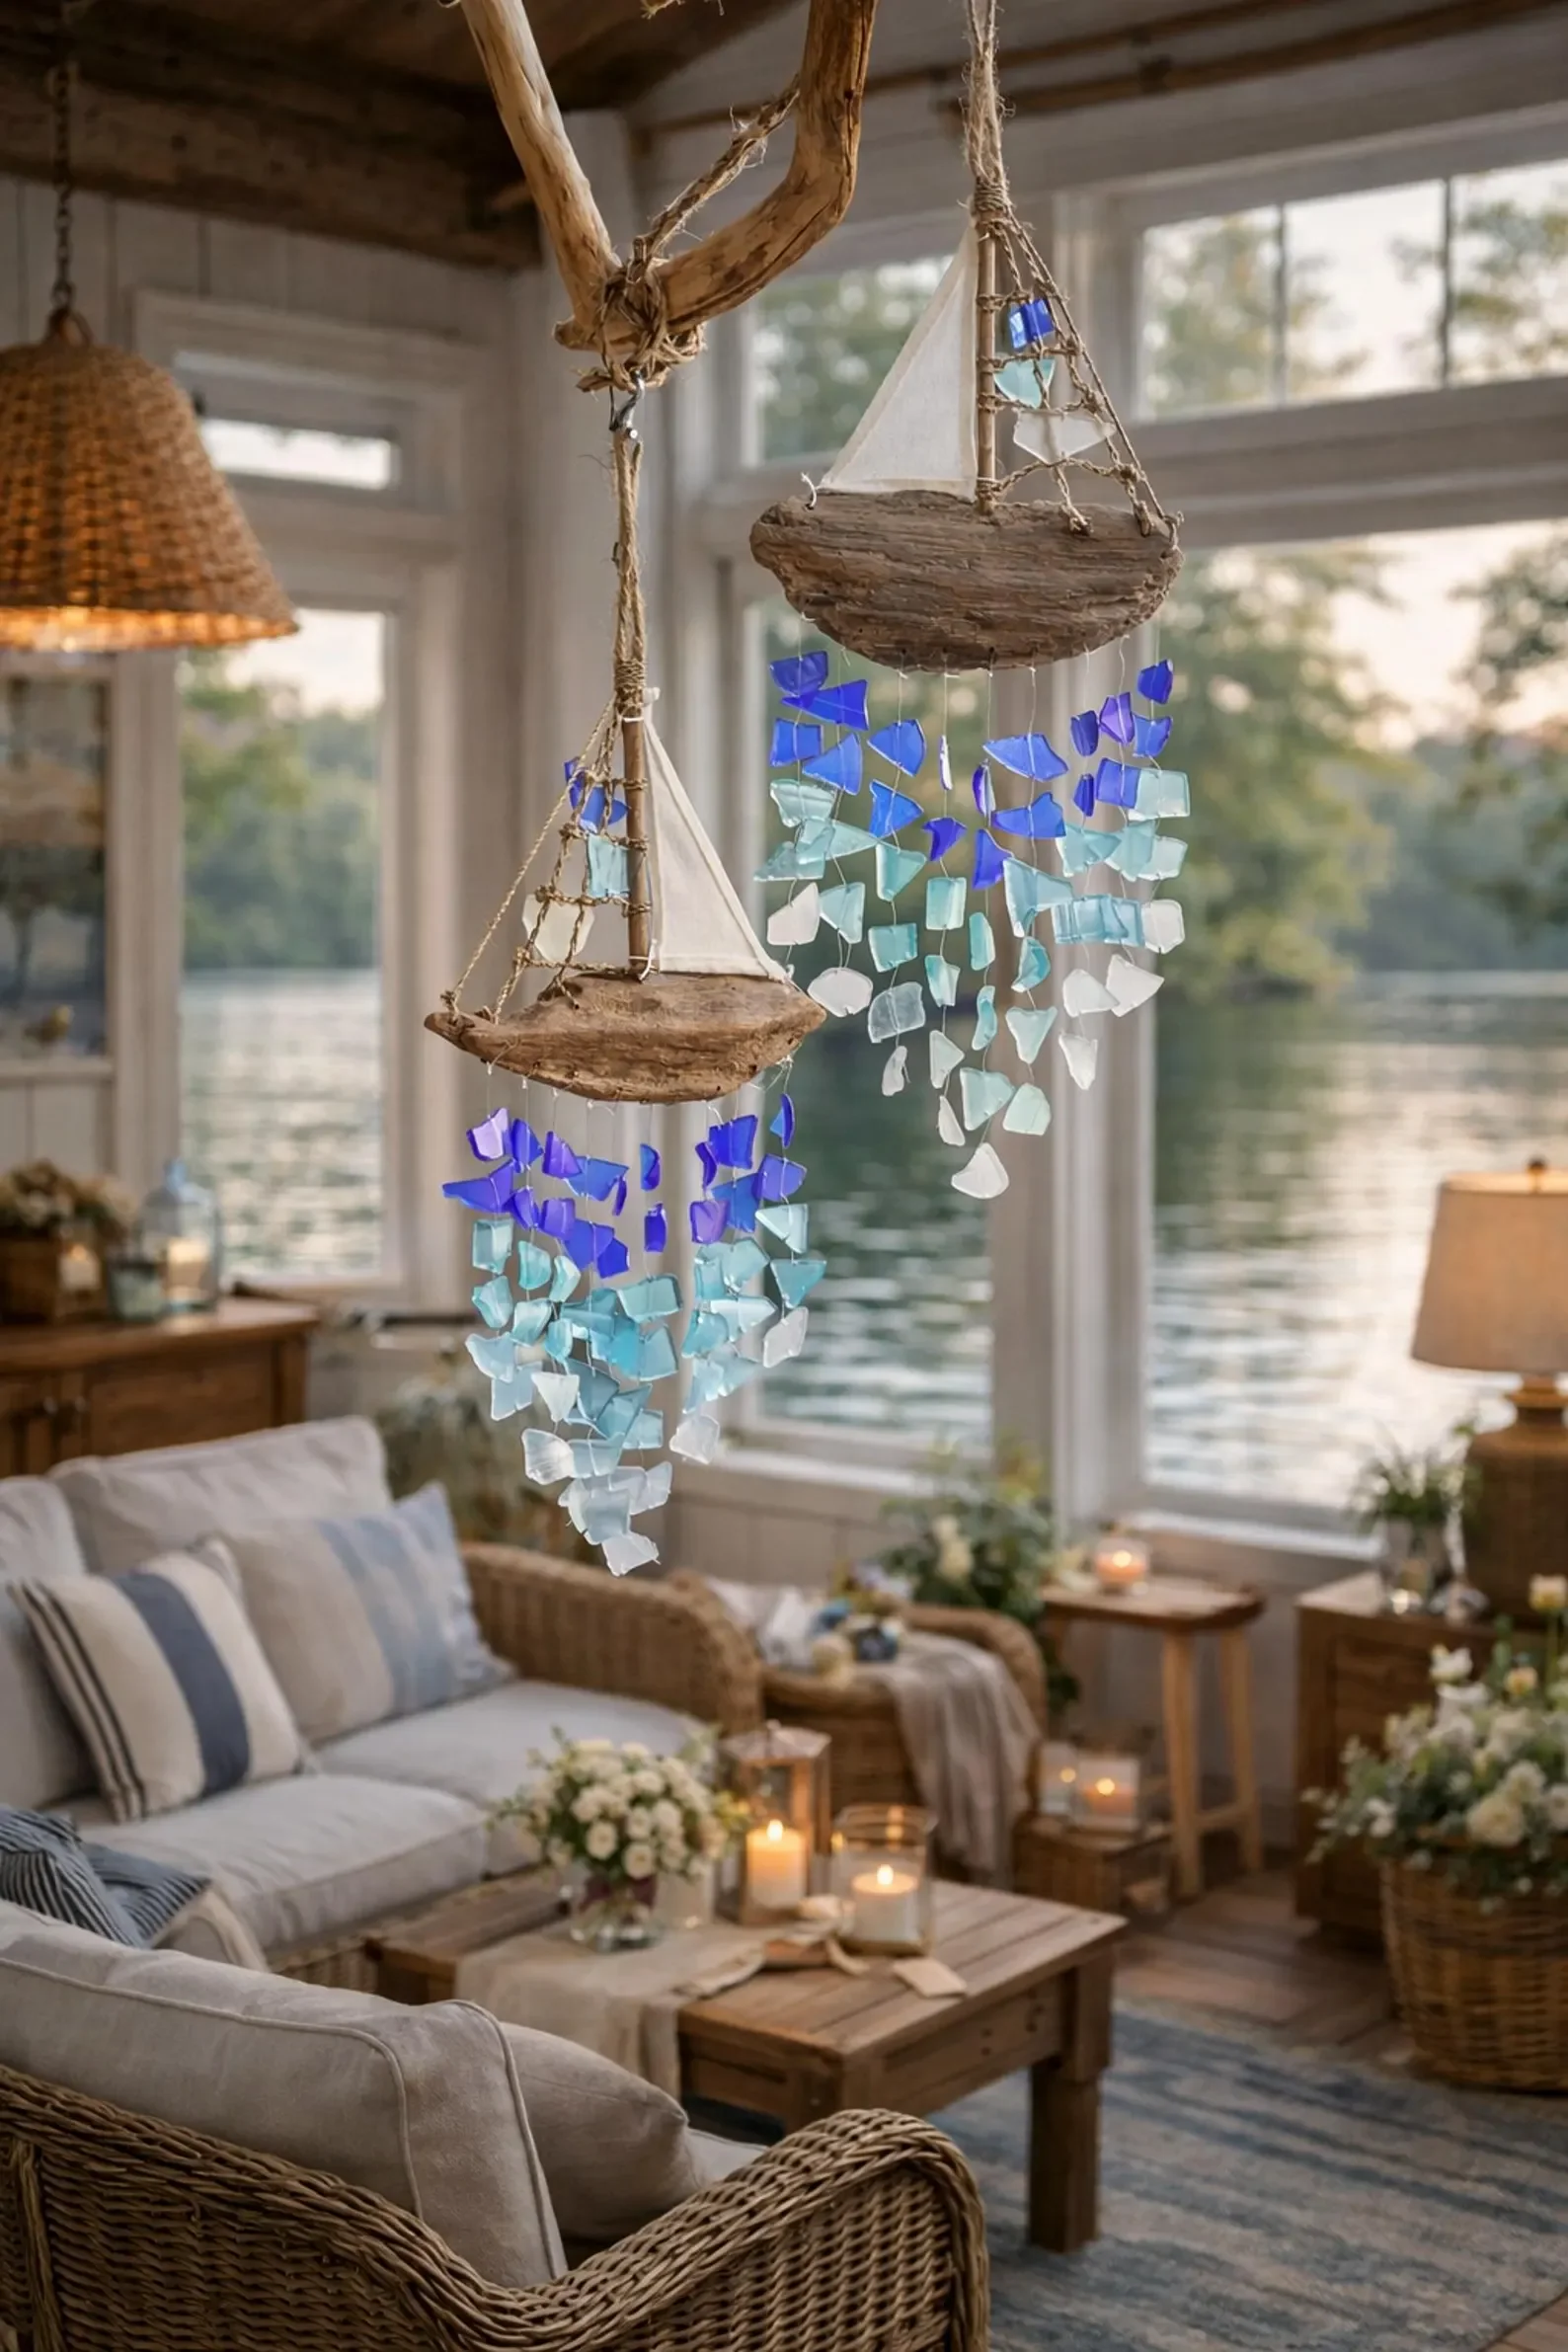
The Expert Solution: Test as You Go
Mobiles: Before stringing, lay your supporting branches on a table and use a ruler or visual estimation to distribute weight evenly. Balance is everything! You must test the weight distribution as you attach pieces.
Wind Chimes: Test your chimes after stringing just a few pieces. Remember that different materials (sea glass vs. large shells) create different tones and affect the weight distribution.
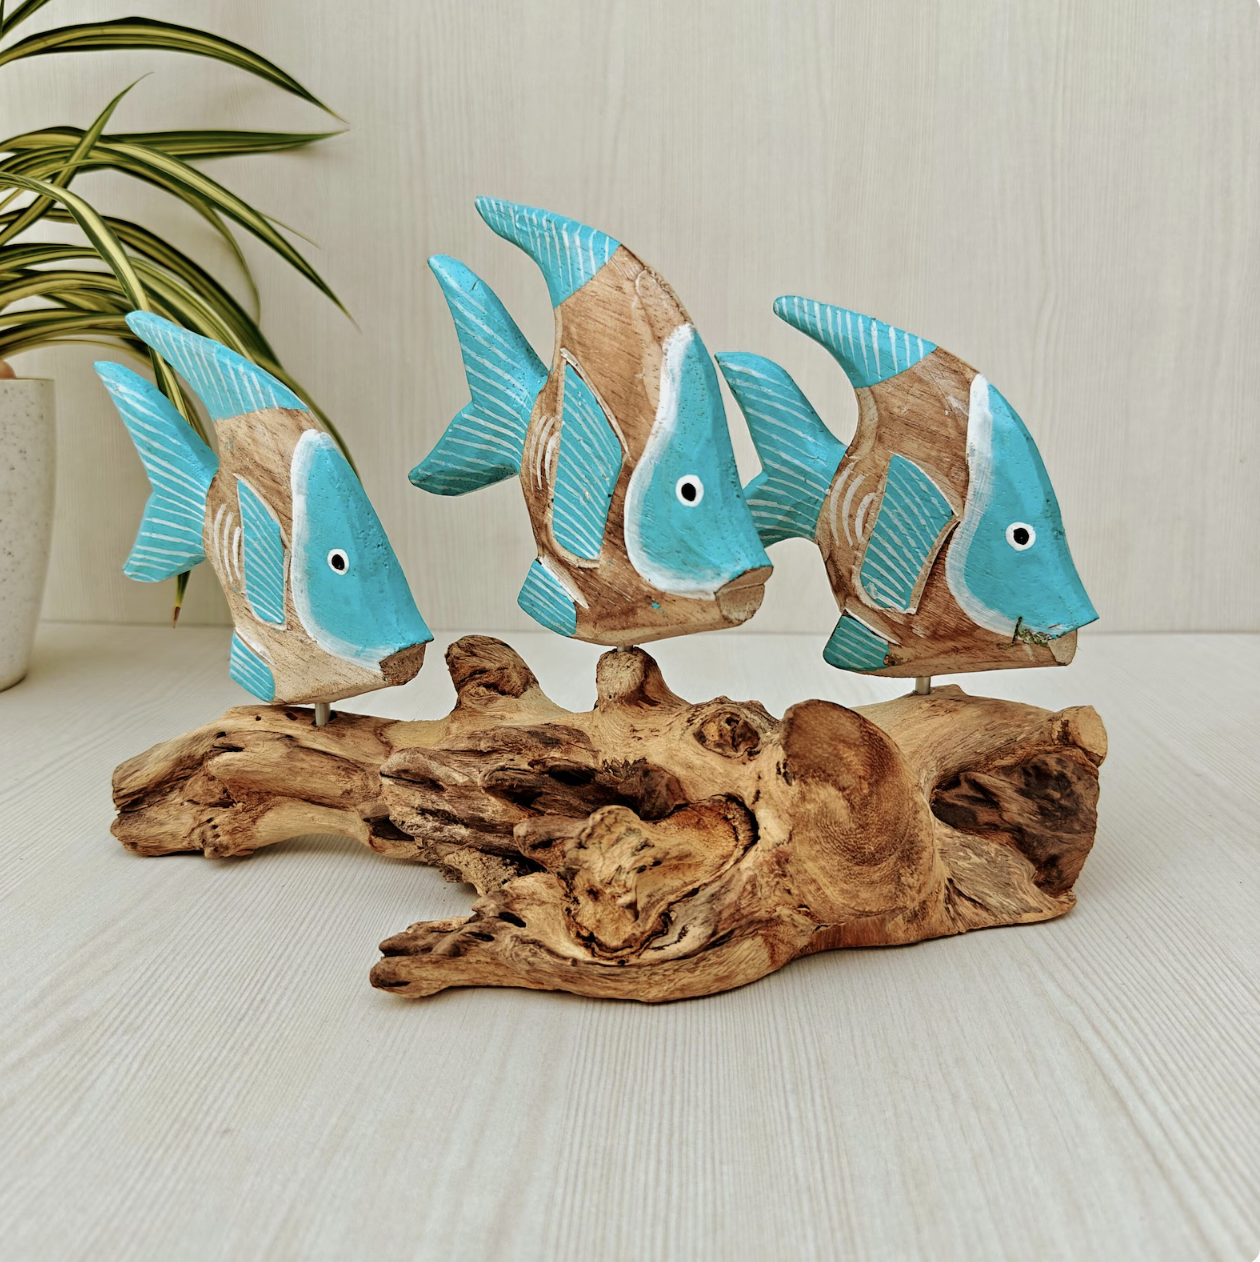
Mistake 7: Forcing a Design onto the Wood
Many DIYers start a project with a rigid idea—"I am going to make a perfect bird sculpture"—only to realize the piece they found resists that shape. Trying to force your vision often leads to frustration and a final piece that looks awkward or unnaturally manipulated.
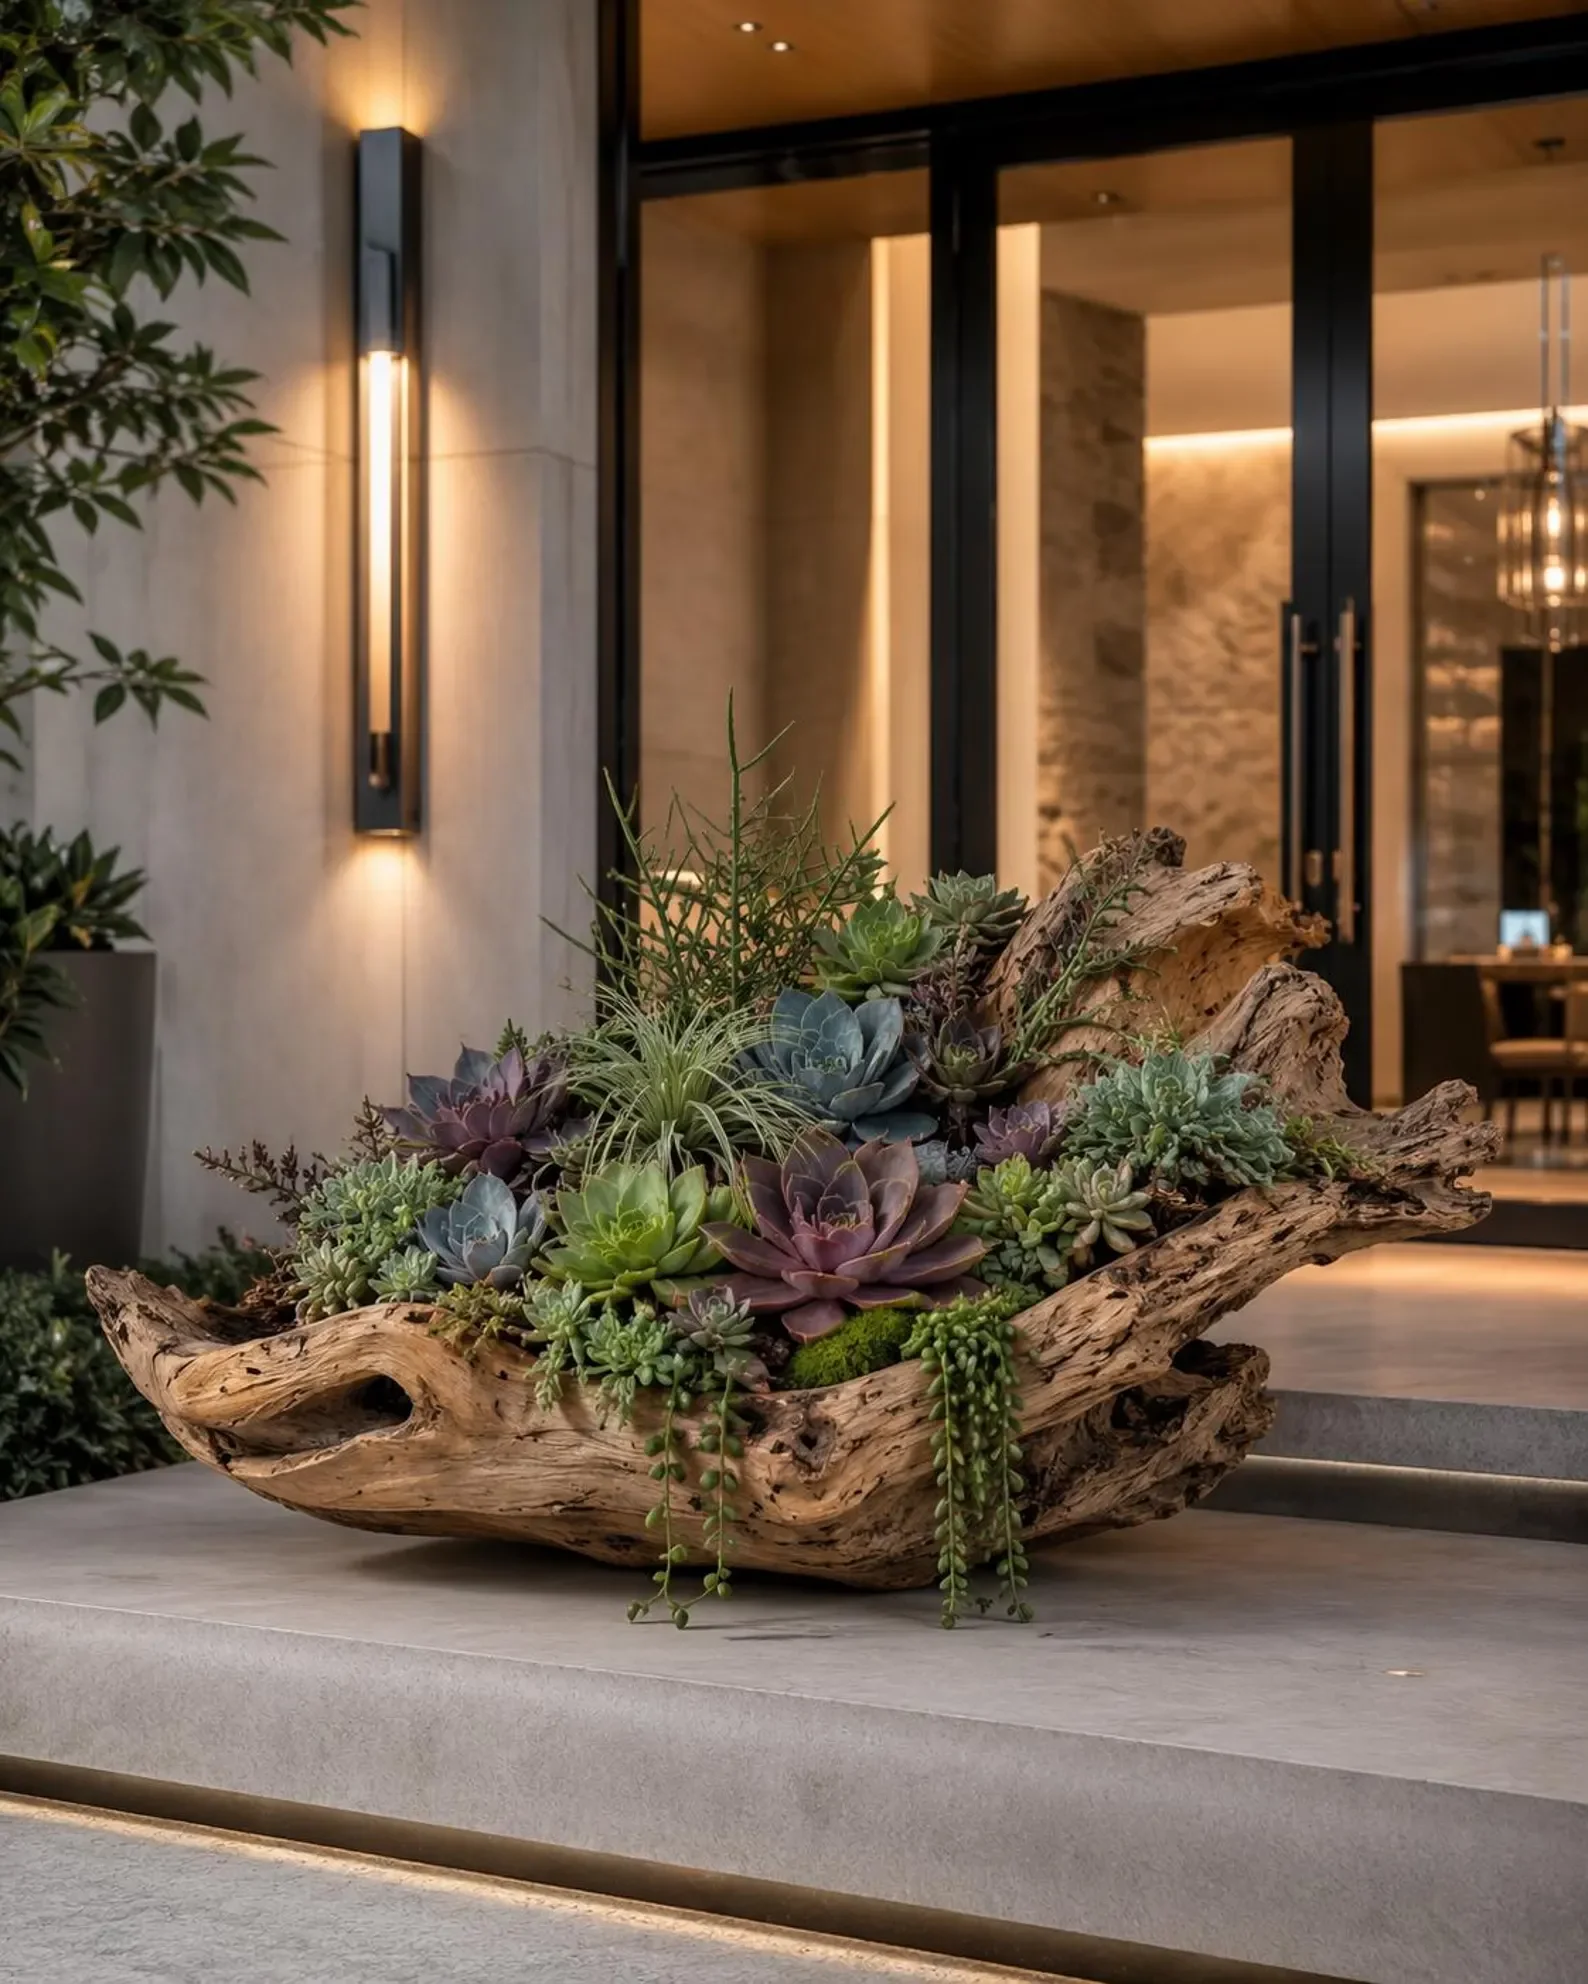
The Expert Solution: Let the Wood Guide You
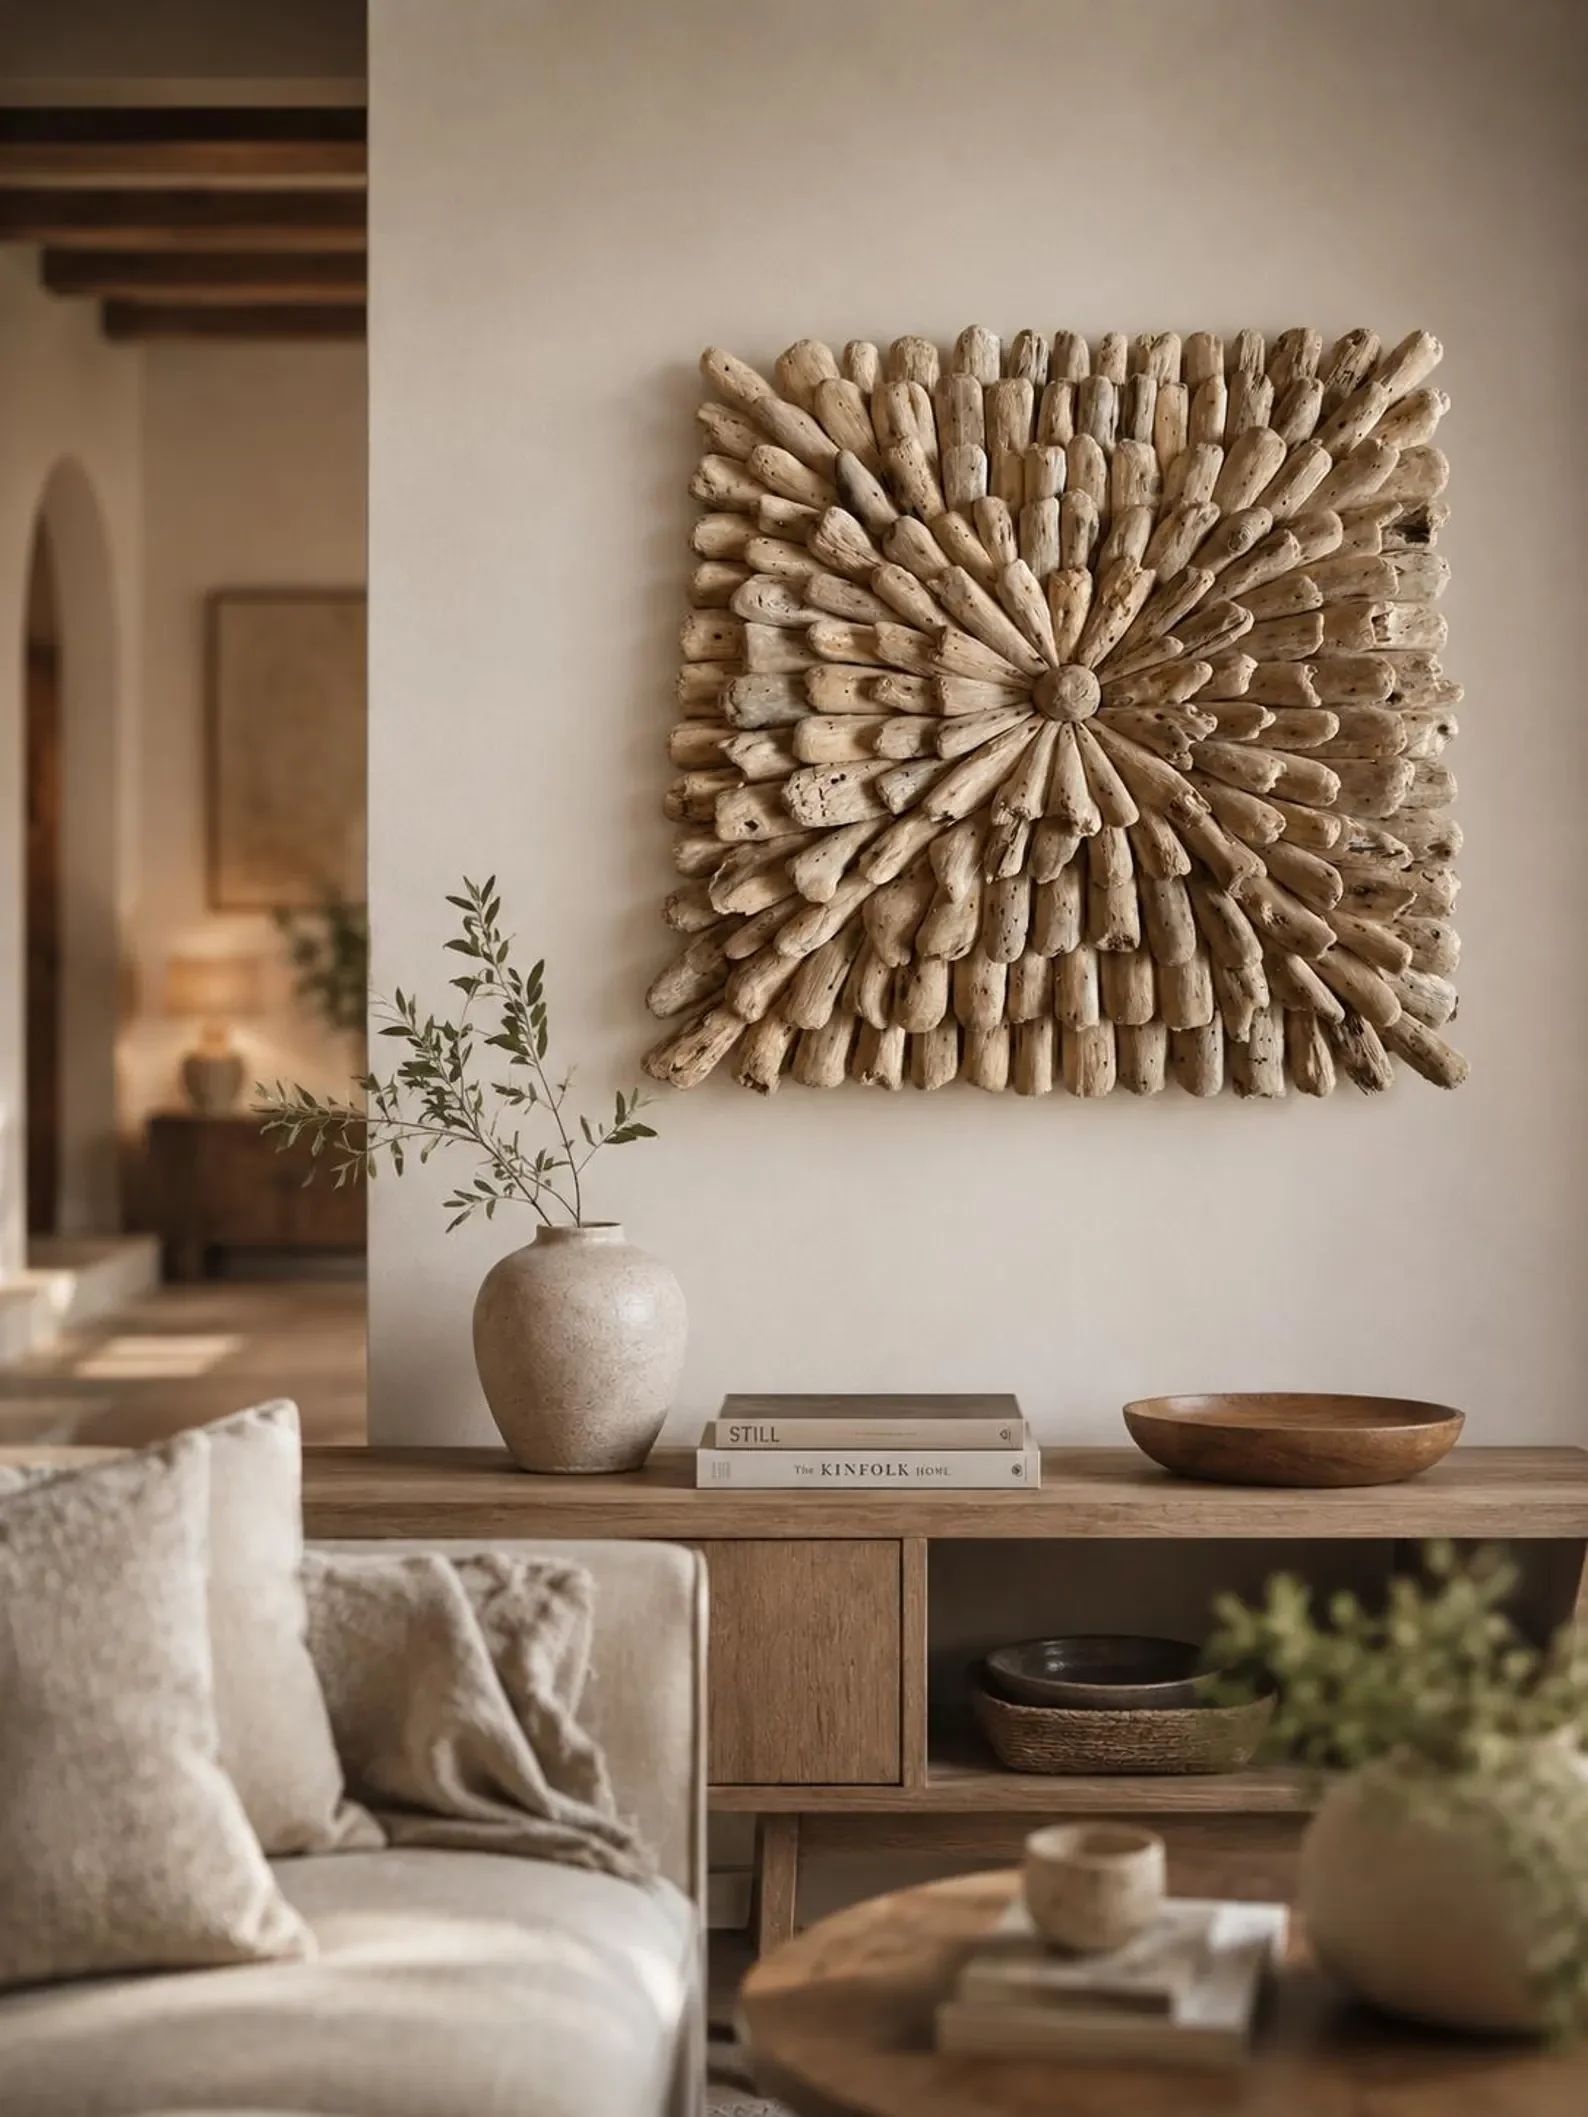
For Sculptures and Wall Art: Lay your pieces out and let the wood tell you what it wants to be. Work with the natural shape. The most successful driftwood decor happens when you see a shape already there—a leaping fish, a twisted tree, or a natural crescent—and simply enhance it.
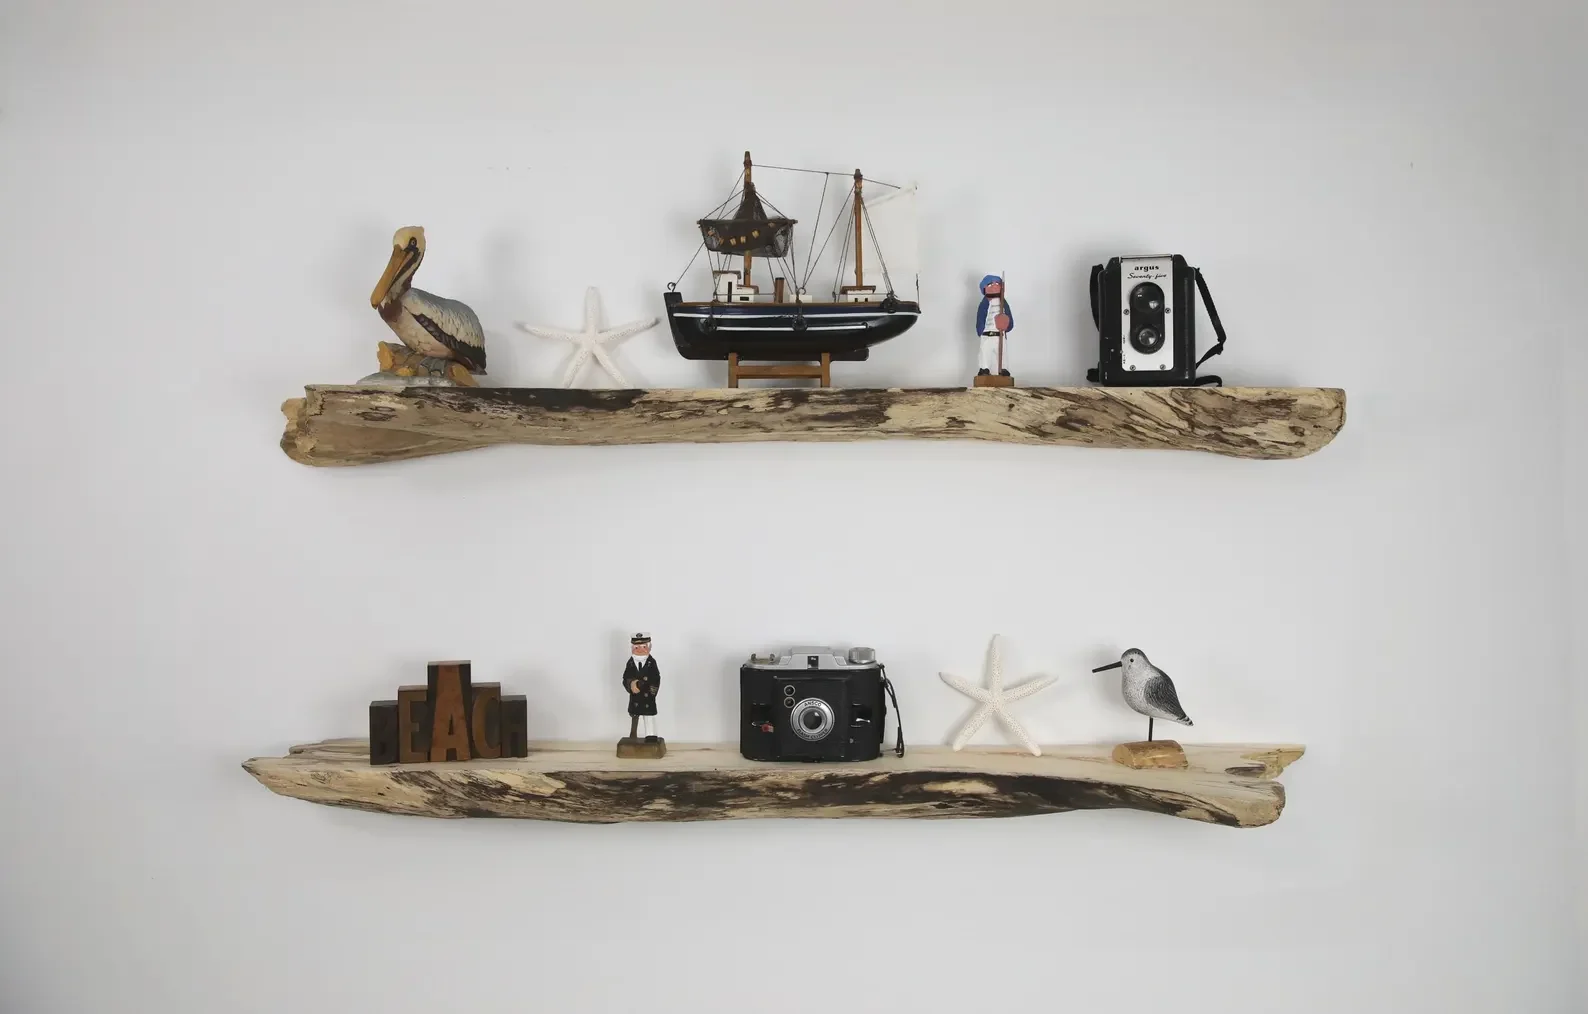
For Centerpieces: When decorating a long piece for a dining table, remember that less is more. Leave negative space around the wood and candles so the piece can be admired, rather than cluttering it with too many objects.
Bonus: Quick DIY Inspiration
Now that you know the rules, here are a few ideas that use the proper techniques to create beautiful coastal decor:
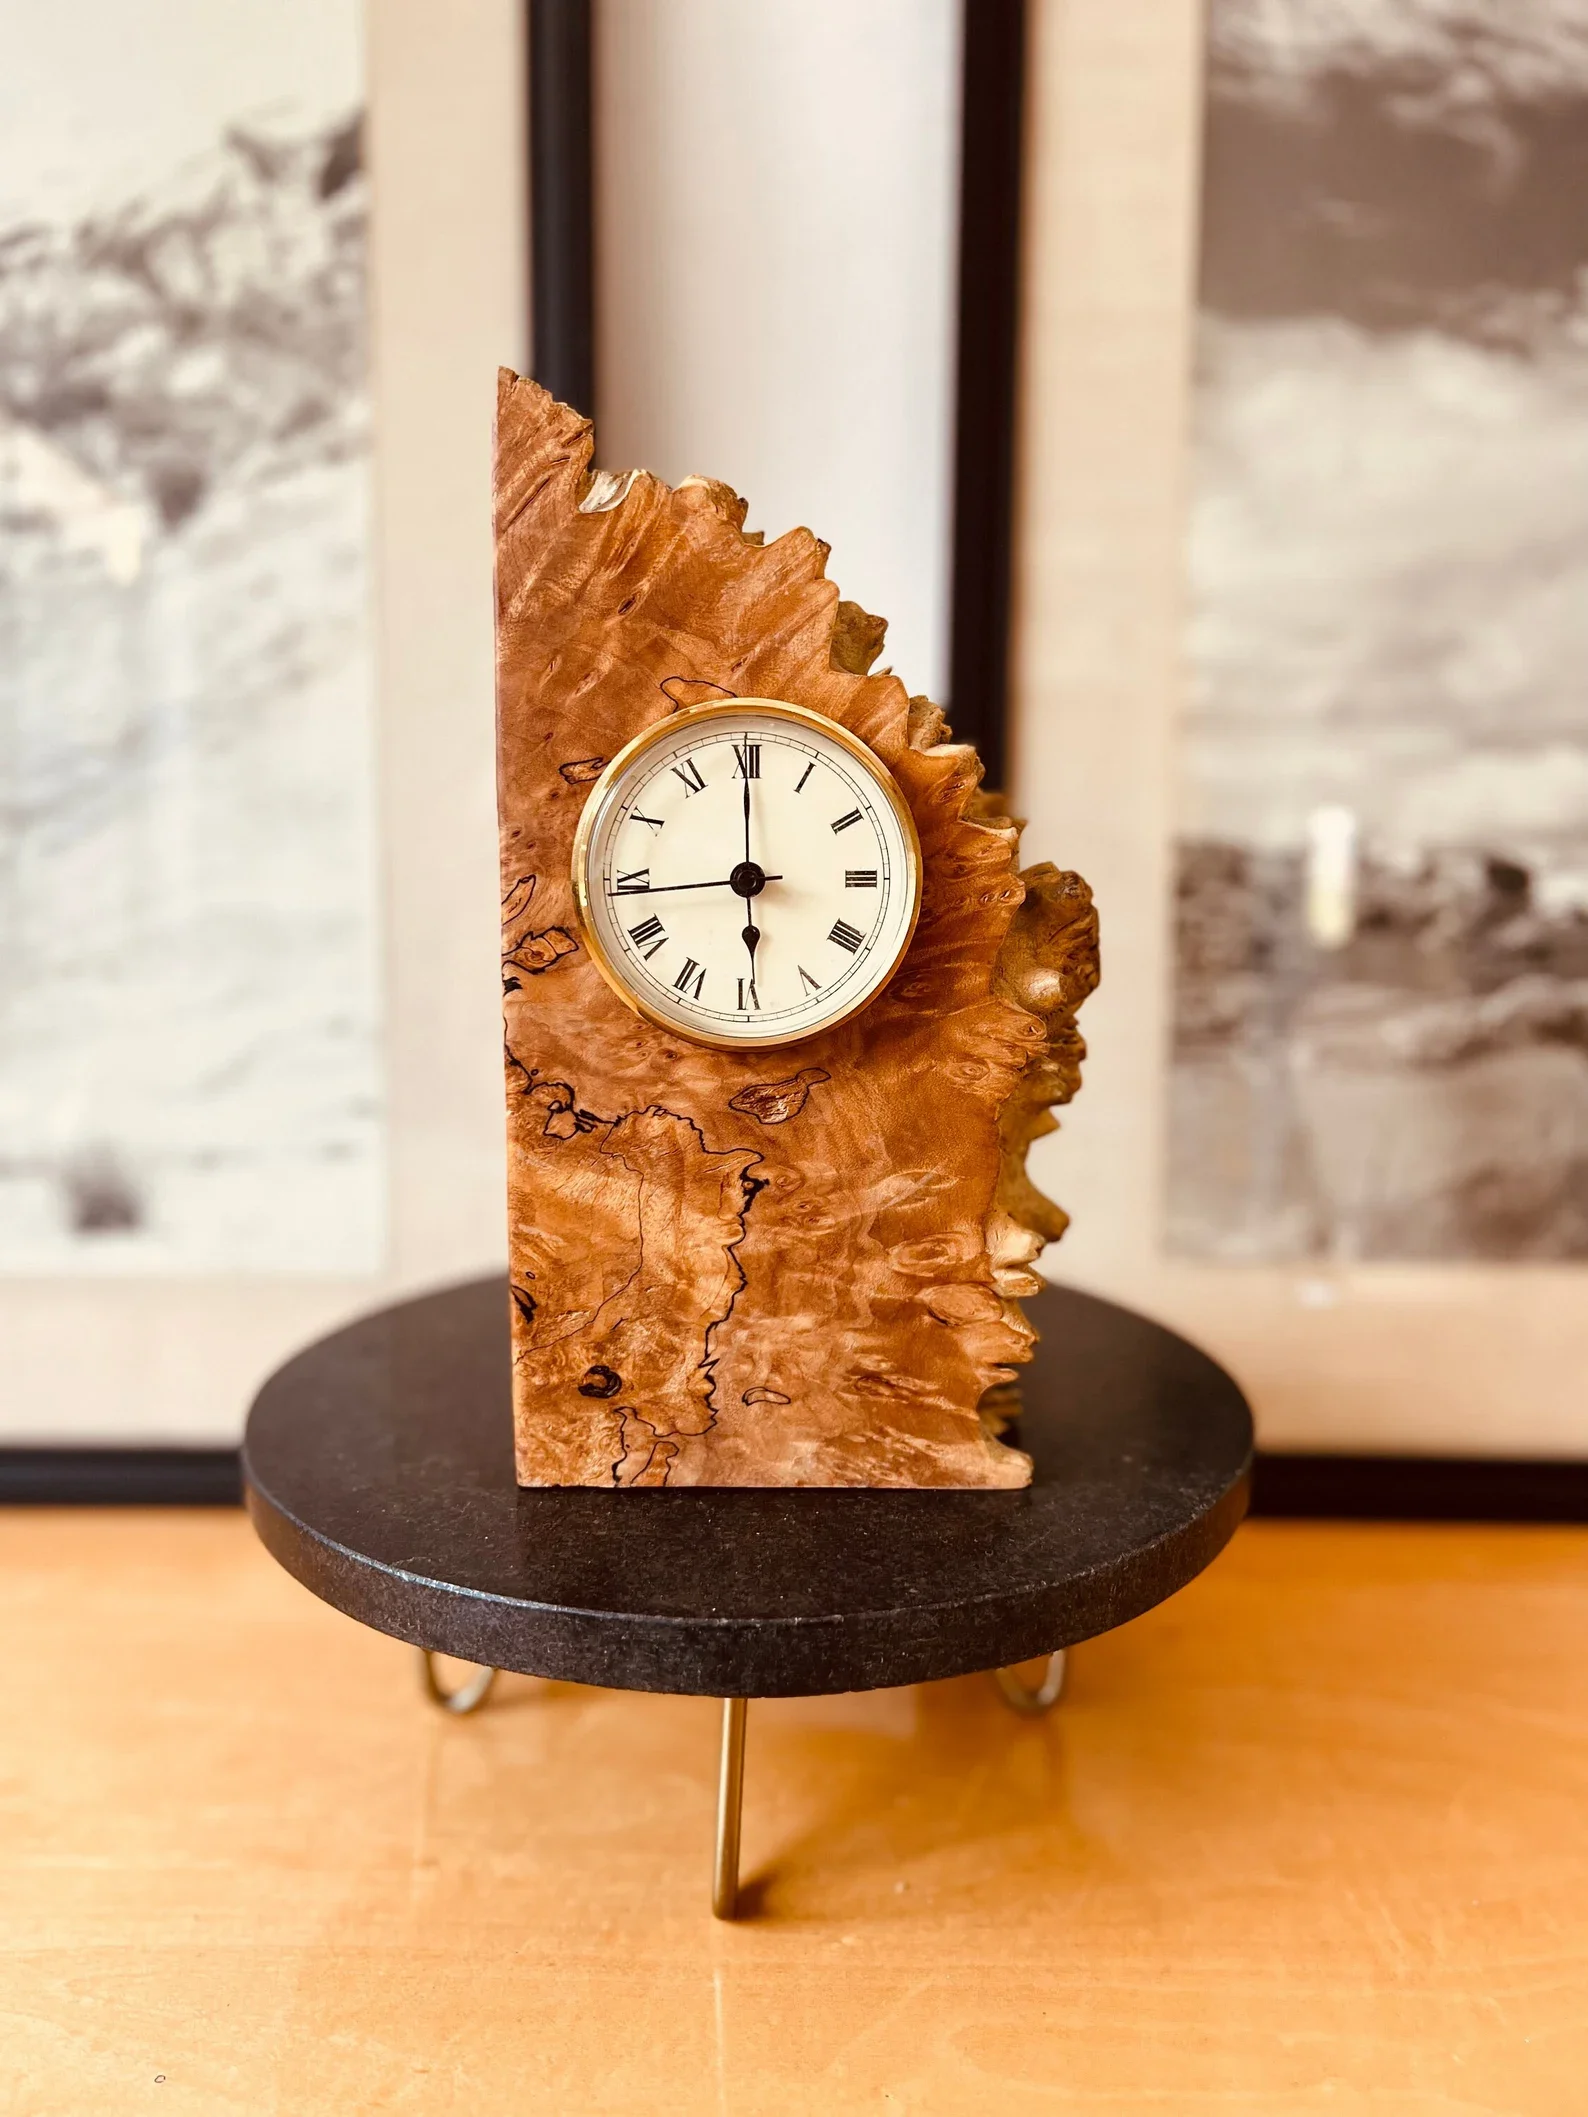
The Coastal Clock: Use a nearly circular piece of driftwood or find smaller mixed size pieces to form a circular shape, and install a simple, affordable clock mechanism (be sure to use a template to center the hole!).
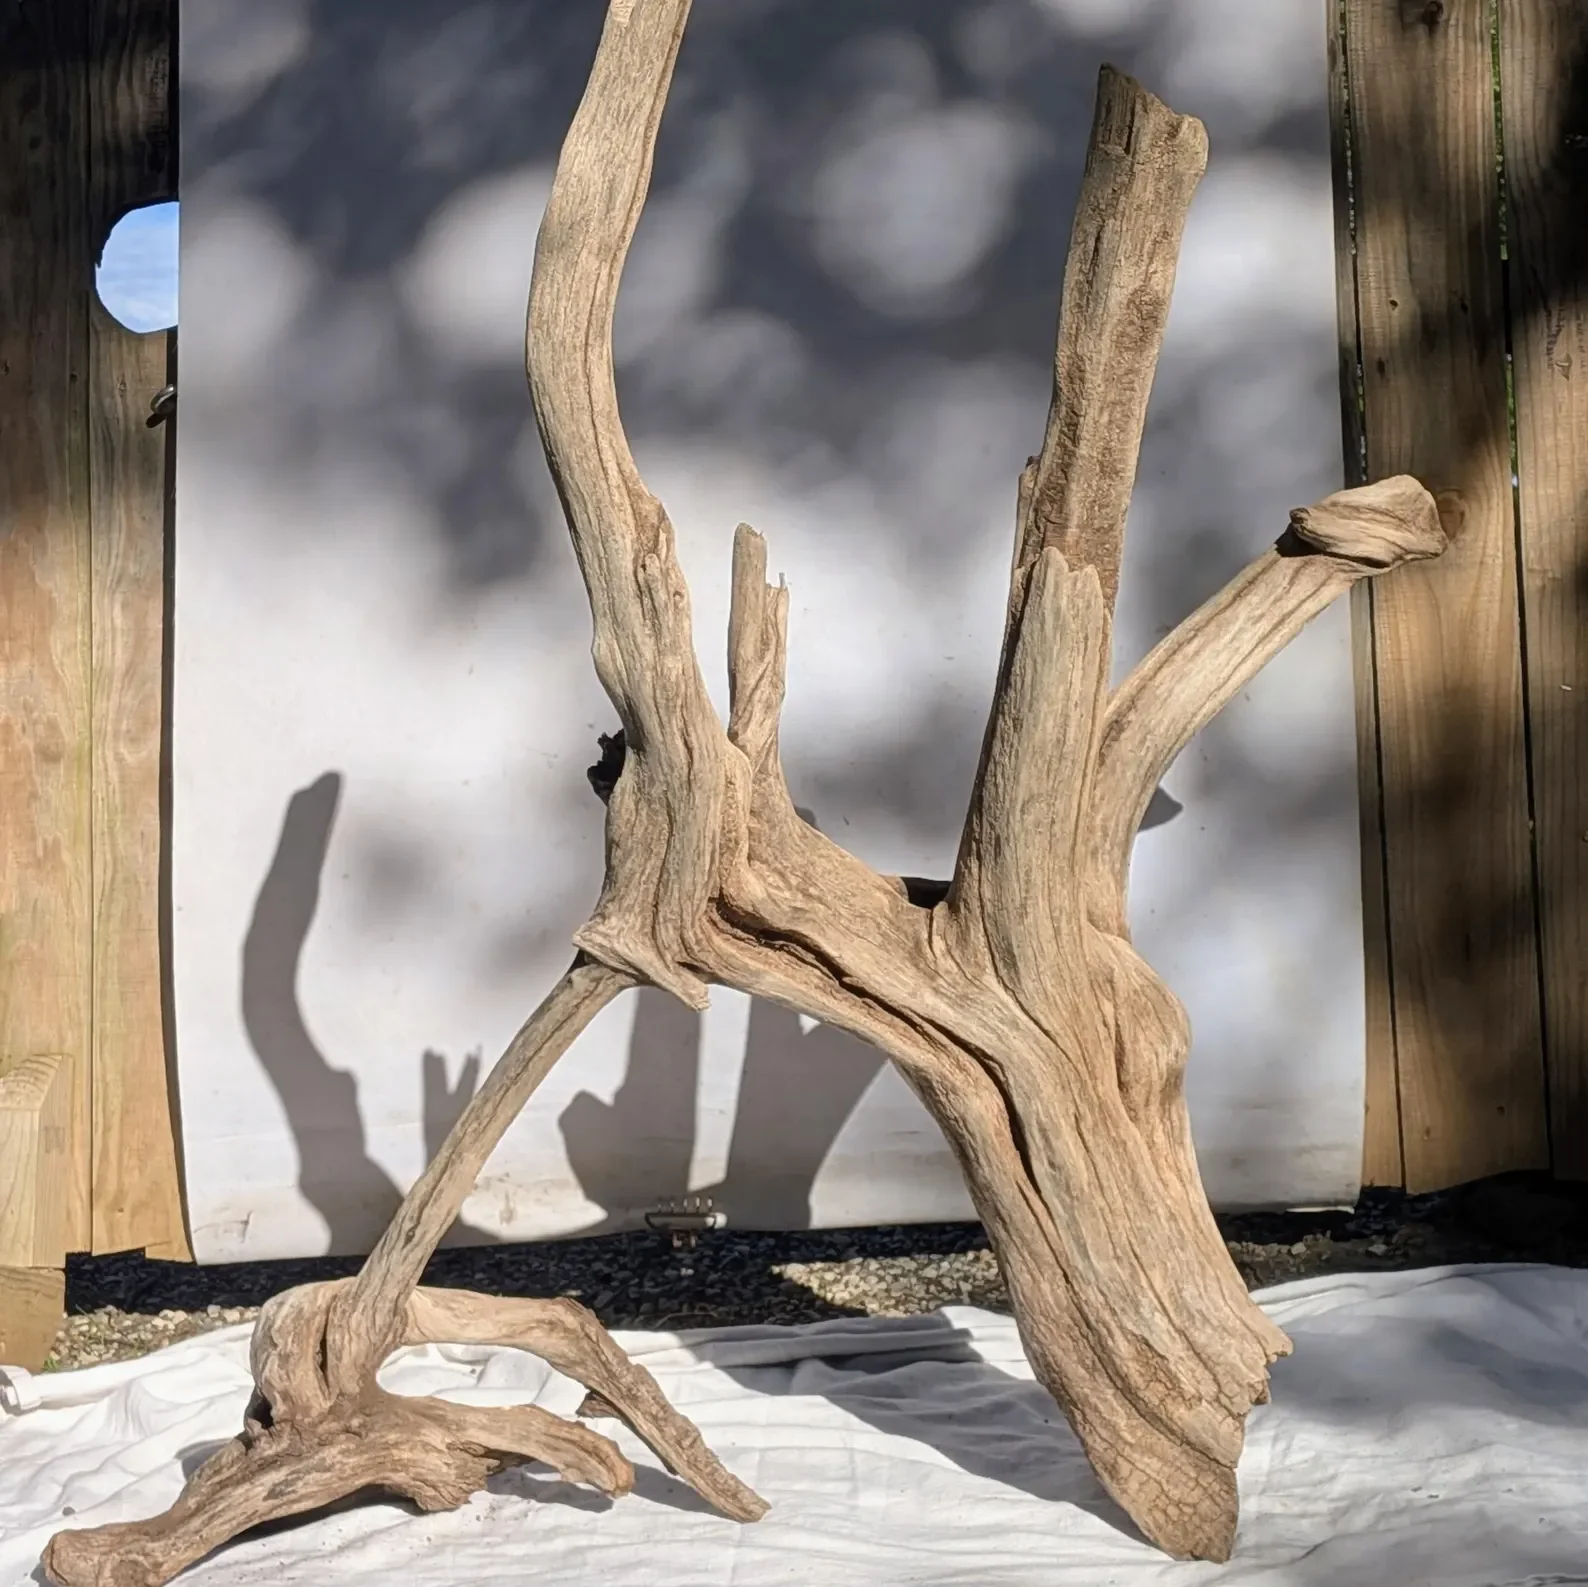
The Jewelry Tree: Select a naturally branched piece and sand it meticulously (Mistake #1 & #5 solved).
The Tiered Shelf: Select two flat pieces and join them using strong vertical pieces and structural adhesive (Mistake #2 solved).

Transform your beach finds into elegant coastal home decor!
Here’s the 5 most popular seashell DIY projects, including easy seashell wreaths, mirrors, and decoupage dishes. Start your seashell crafts today!
Frequently Asked Questions (FAQ)
Is it legal to take driftwood from the beach?
It depends entirely on the location. In many public areas, particularly national seashores, parks, or protected zones, it is illegal to remove any natural materials, including driftwood and shells. Always check local and state regulations before collecting.
How long does driftwood need to dry before I can use it inside?
This varies significantly based on the size and moisture content of the wood. Small pieces (ornament size) may dry in a week in the sun, while larger, thicker pieces can take several weeks or even a month, especially after sanitizing. The wood should feel significantly lighter and completely dry to the touch before use indoors.
How do I smooth driftwood without losing its natural look?
If a piece is too rough (Mistake #5), sand the sharp, splintery areas by hand using a fine-grit sandpaper (around 120-150 grit). The goal is to remove the hazard, not the texture. Sanding too much will polish the wood and destroy the desirable weathered, silver-gray patina.
Can I use saltwater driftwood indoors?
Yes, absolutely, but you must follow the preparation protocol (Mistake #1). The salt itself is not the problem, but the bacteria and organisms living in the wood are. The bleach soak and thorough drying process eliminate these issues, making the wood perfectly safe for indoor decor.
Do you have any final thoughts on the new structure, or would you like to brainstorm specific tools for these projects?